
When the checkout page suddenly returns a 500 error after a plugin update, WordPress PHP error logs can explain which component failed and where, but the useful record may not be in the file you first expect.
Because there is no single PHP error-log location for every WordPress site, the safest investigation starts by matching the failure to the layer that recorded it instead of changing settings at random.
This guide follows that checkout failure through the host log, WordPress’s own diagnostic path, and the evidence in the matching entry, so you can choose a safe next step without exposing raw errors to visitors.
TL;DR: Check the host’s PHP or web-server log first, then use WordPress’s WP_DEBUG_LOG settings as a temporary, hidden diagnostic path. Match the newest entry to the failed request and fix the named component safely. Keep a backup or WordPress staging environment, protect the log, and turn debugging off when you have enough evidence.
WordPress PHP error logs come from different layers
Before choosing a file, remember that the broken checkout page may have failed in WordPress, PHP, the web server, or a plugin. The phrase “PHP error log” can describe several different records, and they do not all answer the same question.
- Hosting dashboard or server log: PHP runtime and web-server failures, including failures that happen before WordPress loads. Check it when a page returns a server error, WordPress does not load, or debug.log is empty.
- wp-content/debug.log: Debug messages captured through WordPress’s debug configuration. Check it when WordPress loads far enough to handle the request and you need a plugin, theme, or WordPress message.
- Plugin or service log: Events recorded by that specific application. Check it when the failure is inside WooCommerce or another plugin with its own logging screen.
- PHP system logger: Messages sent by PHP’s configured logging destination, including some direct error_log() calls. Check it when a developer or host says the message was written by PHP rather than WordPress.
For a broader view of the records available, distinguish WordPress log types before choosing which one to inspect.
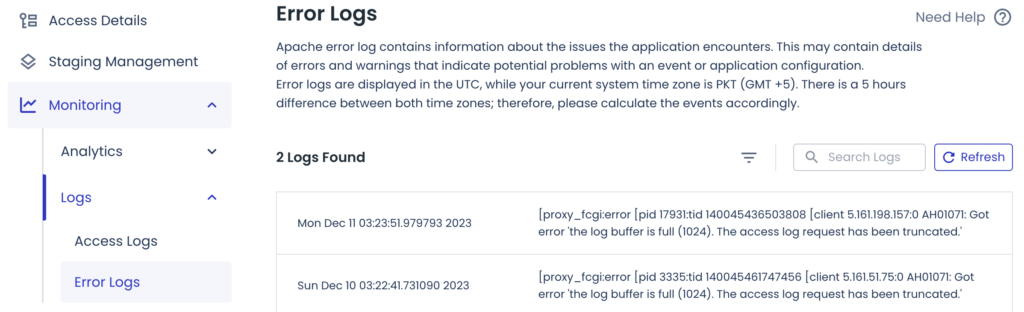
Check the host log before changing WordPress
Once you know the layers, open the hosting control panel and look for names such as PHP errors, error logs, server logs, application logs, or monitoring logs. The exact screen, filename, retention period, and access rules vary by provider. Some hosts expose the record in the dashboard, while others put it outside the site’s document root or provide it only after a support request.
This is the right first stop when the whole site is returning a 500 or 503 response, the WordPress bootstrap does not complete, or the failing request never reaches WordPress. A PHP startup error, a server configuration problem, or a failure while loading WordPress may never be written to wp-content/debug.log.
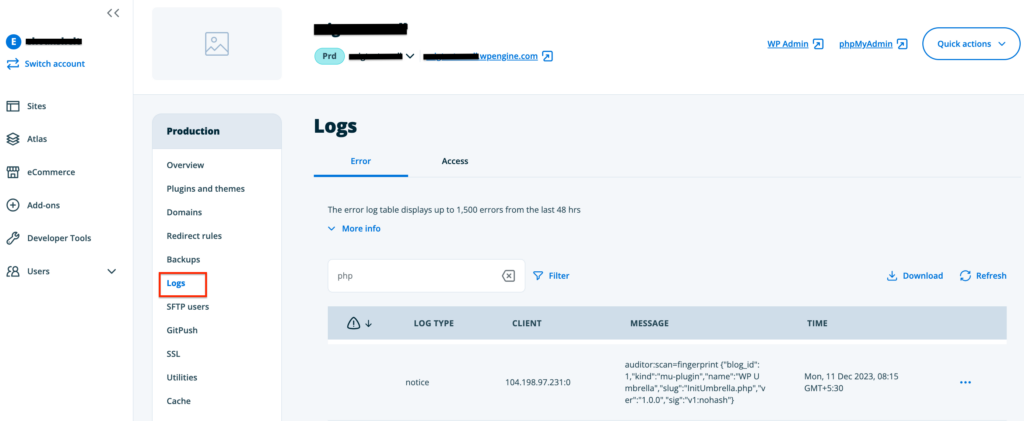
If the host log has several entries, reproduce the checkout problem once and note the time in UTC or the site’s configured timezone, then inspect entries from that short window without treating every warning near the request as the cause. The useful entry is the one whose time and request match the symptom, which is why, when I investigate a failure like this, I start with that narrow time window instead of scanning the entire file.

Enable WordPress logging without showing errors
If the host log doesn’t explain the broken checkout page, use WordPress’s own debug settings when the site loads far enough for WordPress to record the problem. Make a current backup or use a staging copy first. A mistake in wp-config.php can prevent the site from loading, so keep a way to restore the previous file.
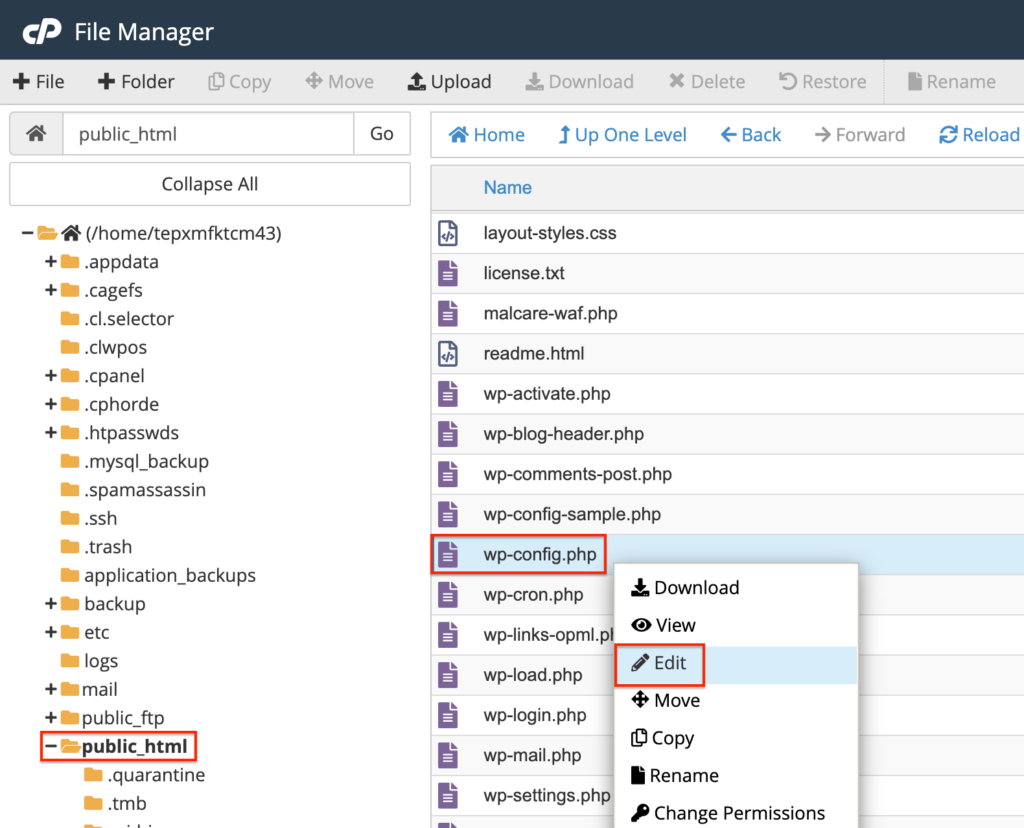
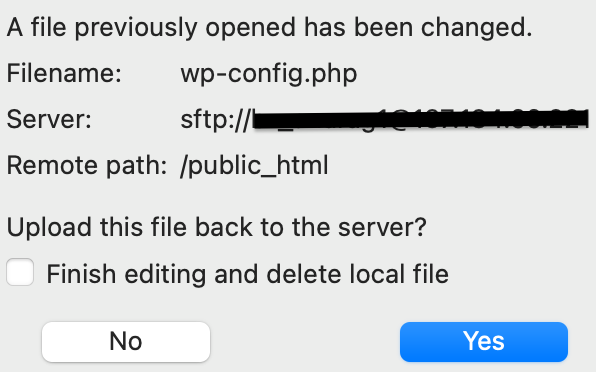
Open wp-config.php through a protected file connection
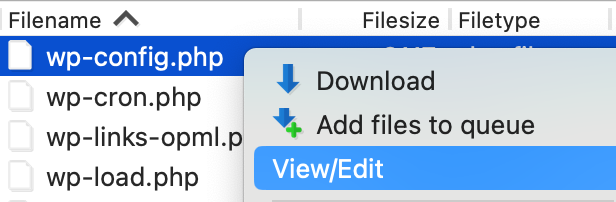
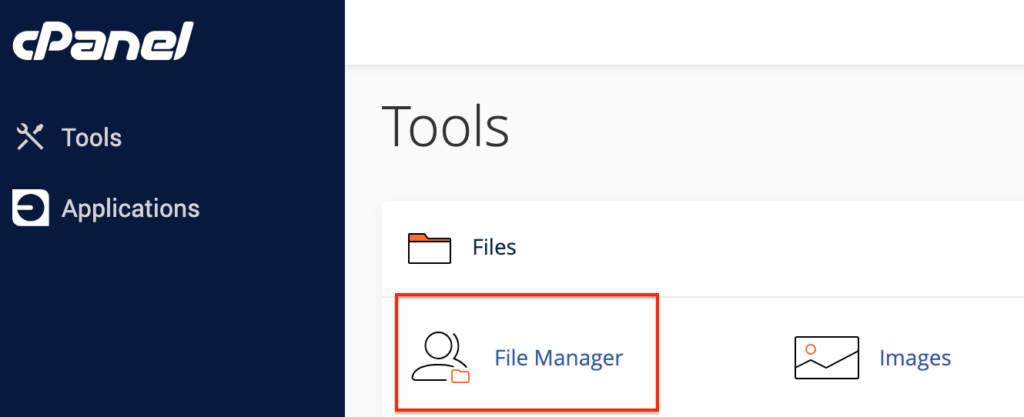
Use SFTP, SSH, or the hosting file manager to open the site’s wp-config.php. It is normally in the WordPress installation directory. Do not place the log in a public folder or expose sensitive configuration in a command or code example. Find the comment that says “That’s all, stop editing! Happy publishing.” Add the temporary constants before that comment, then use this configuration:

define( 'WP_DEBUG', true );
define( 'WP_DEBUG_LOG', true );
define( 'WP_DEBUG_DISPLAY', false );
@ini_set( 'display_errors', 0 );
📝 Note: If the site stops loading after this edit, restore the previous wp-config.php from your backup before trying another change.
These settings have separate jobs, so each line controls a different part of the diagnostic process. Together, they let you collect evidence without putting that evidence into the page visitors receive:
- WP_DEBUG enables WordPress debug mode.
- WP_DEBUG_LOG tells WordPress to write messages to a log, normally wp-content/debug.log.
- WP_DEBUG_DISPLAY prevents those messages from being inserted into the HTML sent to visitors.
- display_errors reinforces that protection for the PHP display behavior used by the request.
The important safety detail is the combination of enabled logging and disabled display. Turning on WP_DEBUG while leaving WordPress errors visible can expose file paths, usernames, request details, or other implementation information on a live page. It can also make a broken page look even more confusing to visitors.
Save the file and reproduce one failure
With logging enabled, save the configuration, load the failing checkout page, submit the failing form, or repeat the action that triggers the issue once. Enabling logging does not recreate old events, so an existing empty file is not evidence that the settings failed. The relevant entry is written only after a new request produces a message.
Use a private browser window or a controlled test account when the action requires a login. Record the approximate time and the exact URL or WordPress action. This gives you a way to separate the new entry from scheduled tasks, AJAX requests, cron jobs, and unrelated notices.
Open the generated log carefully
After you reproduce the failure, look in wp-content/debug.log using SFTP or the host’s file manager. The file may not exist until the first new message is recorded. It may also be empty or unavailable when the path is not writable, the constants were placed after the stop-editing marker, the host overrides the destination, or the request failed before WordPress could write anything.
📝 Note: A file that stays empty after a controlled reproduction is a routing or write-permission clue, not a reason to expose the log publicly.
Read the entry that matches the failure
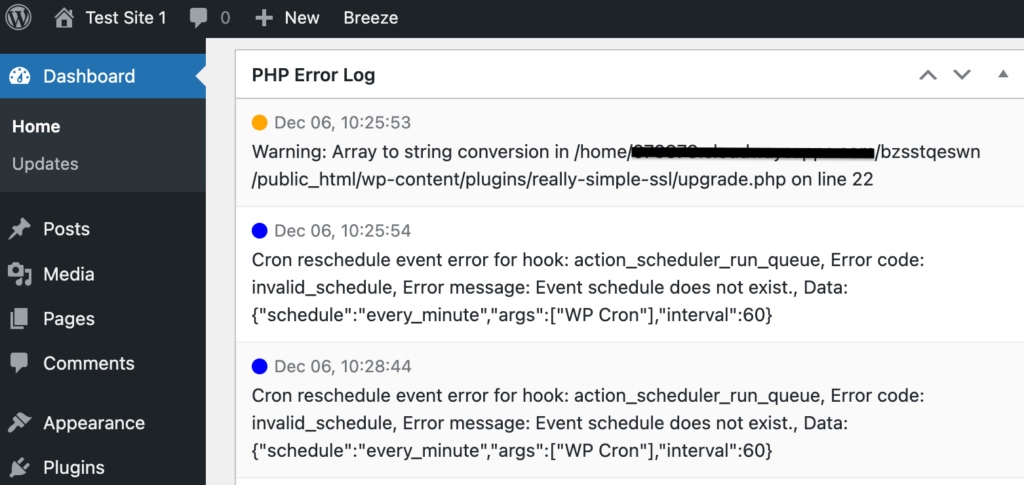
After the checkout request produces an entry, a useful log entry usually gives you several pieces of evidence. Together, those details help you separate the failing request from background messages:
- The timestamp, which lets you match the message to the failed request.
- The severity or message type, such as a fatal error, warning, notice, or deprecation message.
- The message itself, which may name the missing function, class, file, or operation.
- The file path and line number where PHP or WordPress reported the problem.
- A stack trace, when available, showing the calls that led to the reported location.
Read the newest relevant entry first, but do not assume the last line is always the original cause. A fatal error can stop execution. A warning, notice, or deprecation message can indicate a defect without stopping the request, while a fatal message may be the final visible result of an earlier plugin, theme, PHP, or configuration change.
Use the path and line number to identify the component. A path inside a plugin directory points the investigation toward that plugin. A path inside the active theme points toward the theme. A core path may still be triggered by an incompatible extension or bad input, so correlate it with the surrounding trace and with the change that happened before the failure.
Turn the log into a safe fix
Once you can read the entry, use it to narrow the investigation. The log does not automatically prove that the named line is the only cause. Use the evidence to choose the smallest safe next action.
Check a recent plugin or theme change
If the timestamp follows an update, installation, activation, or configuration change, isolate that change on staging when possible. Update the component to a compatible release, restore the previous version from a known-good backup, or ask its developer to interpret the exact message. Do not deactivate a security plugin on a live site as a general troubleshooting step.
Check missing files and paths
A missing include or require message can mean that a file was deleted, a package was only partly installed, or the code is using the wrong path. Reinstall the affected component from a trusted source or have a developer correct the path. Avoid editing a plugin’s production files unless you can preserve and test the change.
Check PHP and host configuration
If the entry comes from PHP startup, a host module, a server rule, or a request that never reaches WordPress, the host is the correct next contact. php.ini and .htaccess changes have broader scope than the WordPress constants and may be blocked or managed by the provider. Ask the host to confirm the active PHP error-log destination and the relevant entry time.
Separate symptoms from security signals
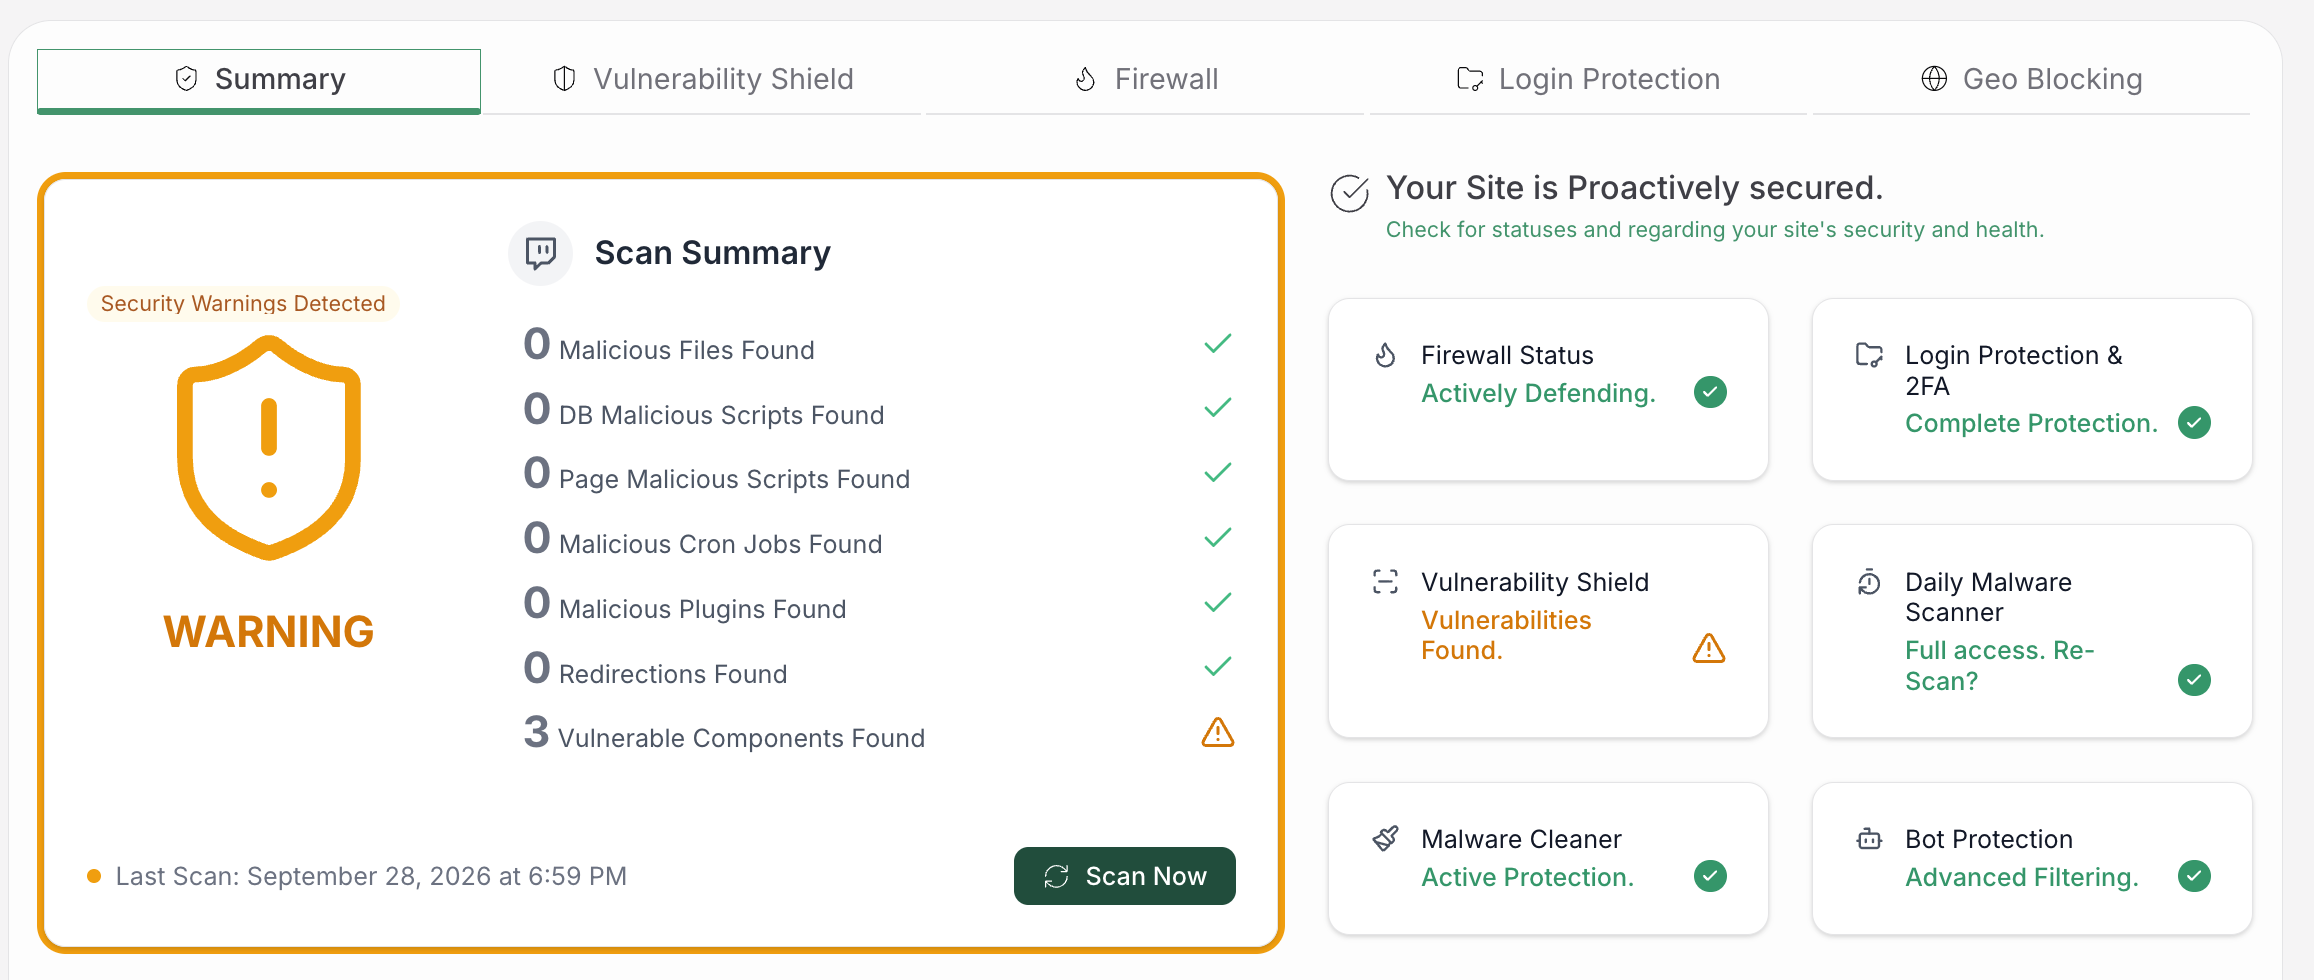
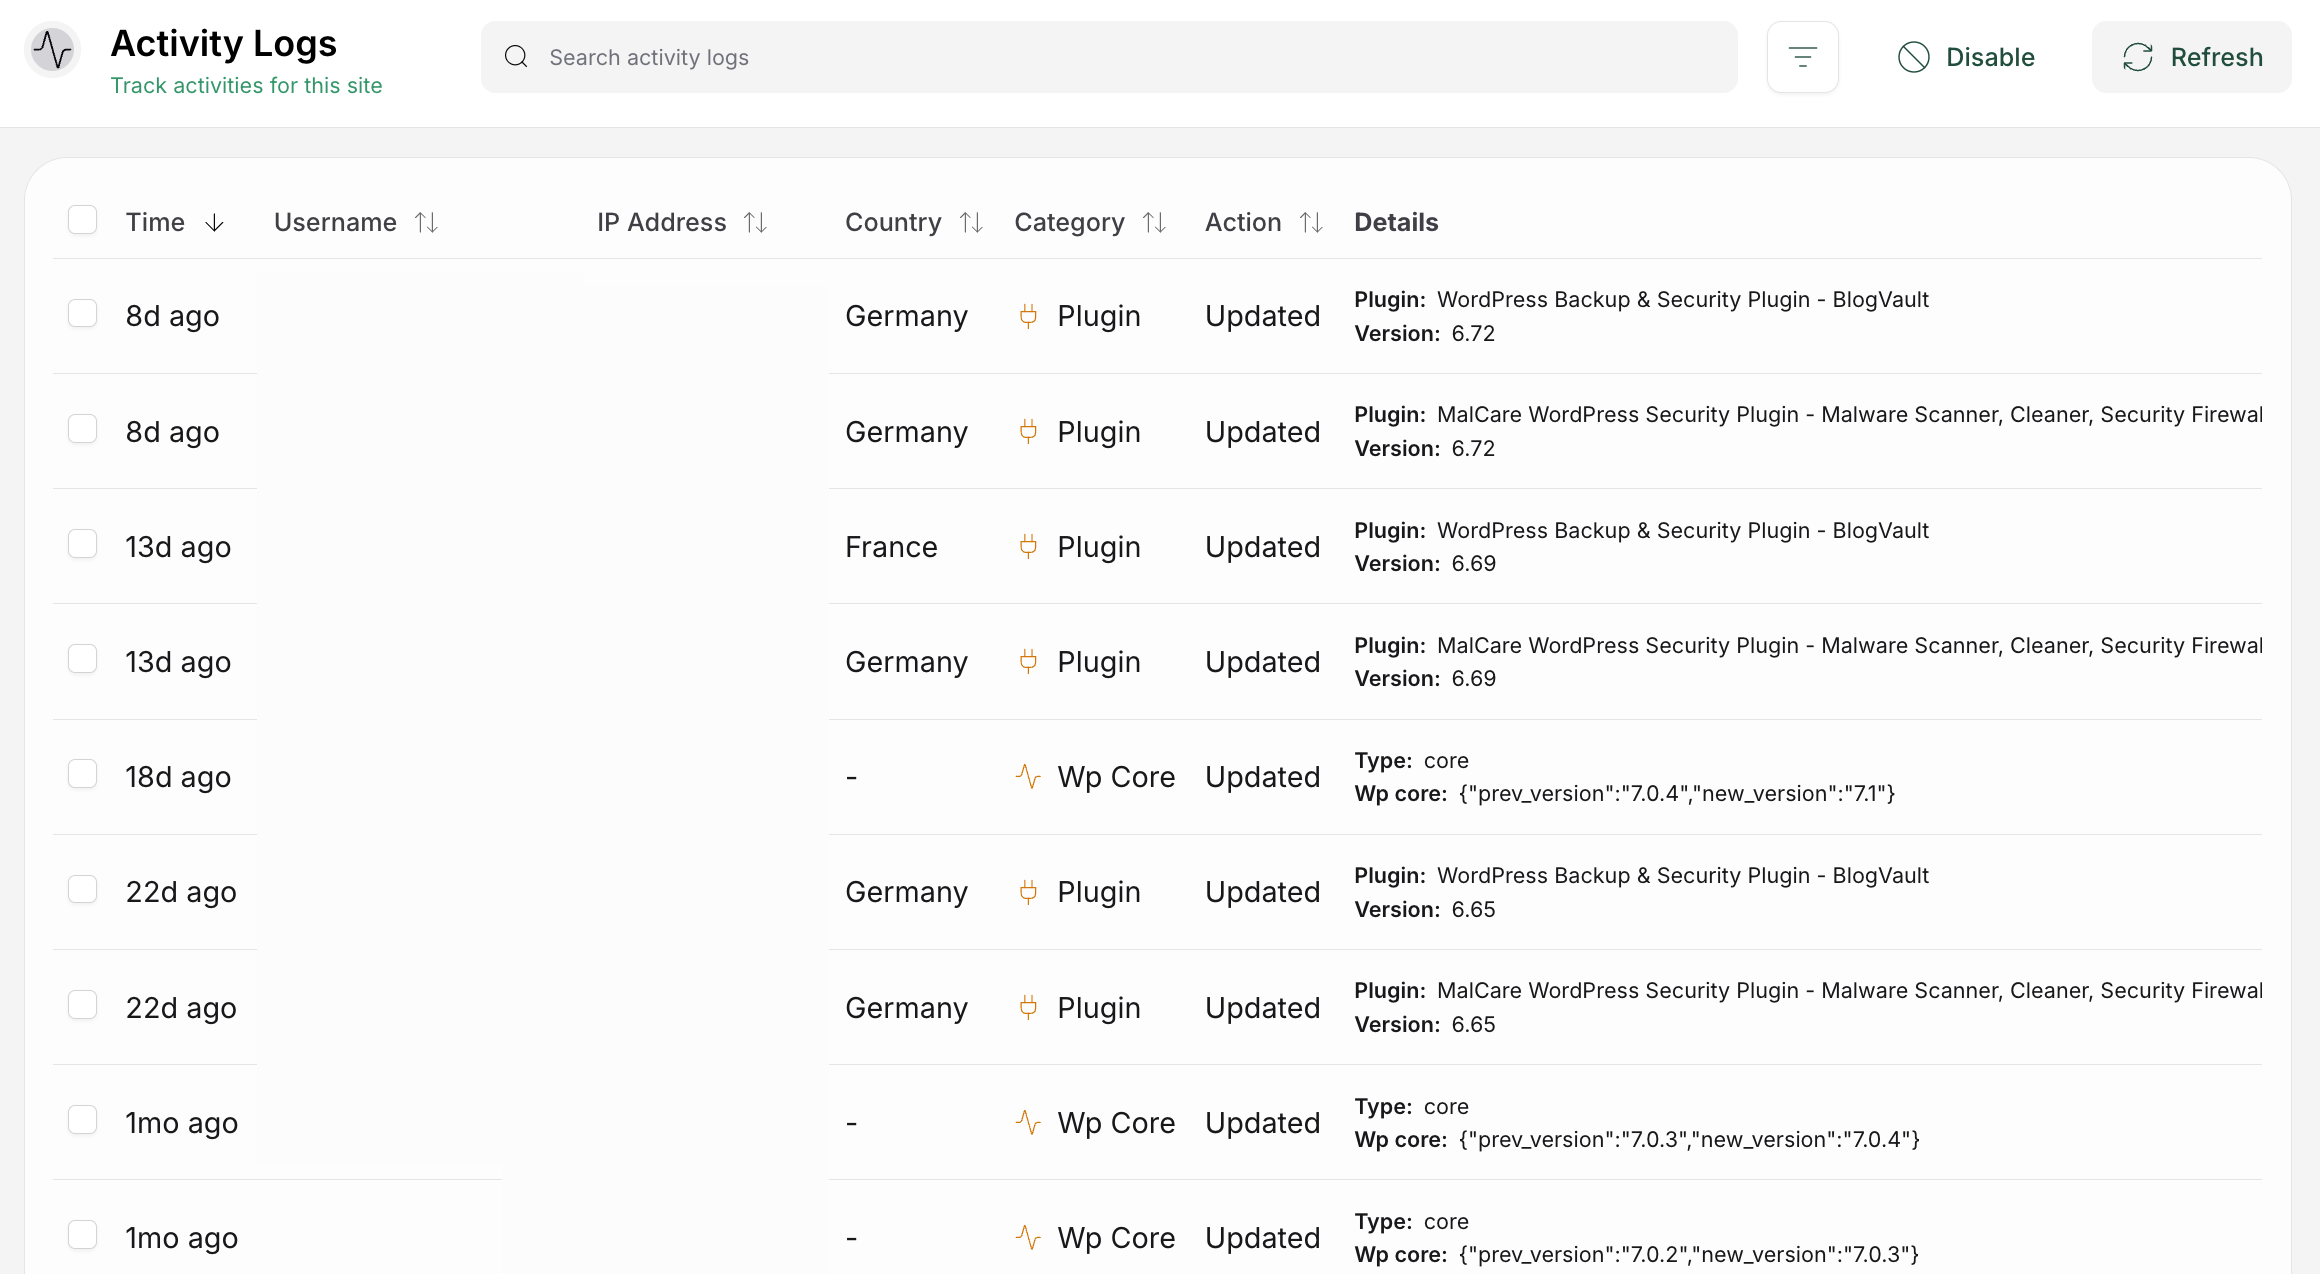
An unfamiliar file path or an unexplained change does not by itself prove that a site was hacked. First preserve the log and correlate the time with administrator activity, deployments, updates, and scheduled jobs. If the change remains unexplained or the log suggests unauthorized activity, a security or activity log can help correlate what changed.
Keep the log private and turn debugging off
After you have captured the evidence from the checkout failure, keep debug logs private and turn temporary debugging off. Debug logs can contain server paths, usernames, request details, and clues about the site’s implementation. Treat debug.log as sensitive operational data. Restrict access through the host’s controls, do not link to it publicly, and remove or rotate it according to the host’s retention process after the investigation.
When you have captured the evidence, edit wp-config.php again and disable temporary debugging:
define( 'WP_DEBUG', false );
define( 'WP_DEBUG_LOG', false );
define( 'WP_DEBUG_DISPLAY', false );
@ini_set( 'display_errors', 0 );
If the file already defines any of these constants, edit the existing definitions instead of adding duplicates. Confirm that the failing page still behaves as expected, then handle the old log under the host’s normal deletion or rotation rules. Leaving verbose logging enabled can fill storage and can record details that should not remain indefinitely.
📝 Note: A debug log can reveal paths and request details even when it contains no passwords, so keep it out of public URLs.
FAQs
Where are WordPress PHP error logs stored?
There is no universal path. Check the host’s PHP or web-server log first. When WordPress logging is enabled with WP_DEBUG_LOG, the usual WordPress location is wp-content/debug.log. A plugin such as WooCommerce may also have its own application log, and PHP may send direct error_log() messages to the system logger instead.
How do I enable a WordPress error log?
Back up or stage the site, then add WP_DEBUG, WP_DEBUG_LOG, and WP_DEBUG_DISPLAY before the stop-editing marker in wp-config.php. Set the first two to true and WP_DEBUG_DISPLAY to false, reproduce the problem, and inspect wp-content/debug.log. Disable temporary debugging after collecting the evidence.
What is the difference between debug.log and a PHP error log?
debug.log is WordPress’s debug stream. A PHP error log is controlled by PHP or the host and can record runtime or startup failures outside WordPress. The two logs may contain related messages, but one does not guarantee that it contains everything written by the other.
Why is debug.log empty or missing?
There may not have been a new event after logging was enabled. The constants may be incorrect or placed too late, the path may not be writable, the host may route messages elsewhere, or the request may fail before WordPress can write the file. Reproduce the issue once, check the configuration, and ask the host about its PHP log destination.
Should WordPress debug mode stay on?
No, it shouldn’t. Debug mode should not normally remain enabled on a live site. Keep errors hidden while diagnosing, protect the log, then disable temporary debugging and rotate or remove the captured file according to the host’s controls.
Conclusion
For the broken checkout page, finding WordPress PHP error logs is mainly a routing decision. Use the host or PHP log for failures outside WordPress, use wp-content/debug.log for messages WordPress can capture, and use a plugin’s application log for plugin-specific events. In every case, match the newest evidence to the failed request before changing the site.
Start with a backup or staging copy, enable hidden logging for one controlled reproduction, and record the file, line, message, and time. Then make the smallest supported fix, protect the log, and turn debugging off as your next step.