WordPress Limit Login Attempts: How to do it?
by
7-layers of Security for Your WordPress Site
Your website needs the most comprehensive security to protect it from the constant attacks it faces everyday.
You’ve probably noticed a lot of failed login attempts on your WordPress site. You probably suspect that your site is facing a brute-force login attack by bots. Brute force attacks to log into a site involve systematically trying every possible combination of usernames and passwords until the correct one is found.
As a side note, if you’re fighting off brute force attacks, install MalCare for its bot protection capabilities.
These attacks not only endanger your website but also add considerable strain on your server, potentially making it unresponsive to real visitors. One of many login security solutions is to limit login attempts in WordPress and that is what we will talk about in this article.
TL;DR: The best solution for limiting logins and bolstering bot protection is MalCare. It stands out as the top choice thanks to its exceptional firewall capabilities and user-friendly plugin, making website security both robust and hassle-free.
There are different aspects of your site vulnerable to brute force attacks. XML-RPC, for example, is a file that allows a user to log in, publish posts, and more, remotely. Similar to the login page, using either confirmed usernames or suspected valid ones, attackers relentlessly send XML-RPC login requests with varying passwords until they find the correct one to gain access. Vulnerabilities like this make limiting login attempts a great way to prevent a hack. However, there are no default settings or features that WordPress offers to do so. You will either need a plugin or add custom code to core files. So, starting from the easiest, here are three ways to block login attempts in WordPress.
1. [RECOMMENDED] Limit login attempts in WordPress using a comprehensive security plugin
MalCare is a multifaceted security plugin known for its ease of use and comprehensive suite of features, including limiting login attempts. Just sign up, add your URL and immediately put the limit logins feature into effect. Here are the steps to do so:
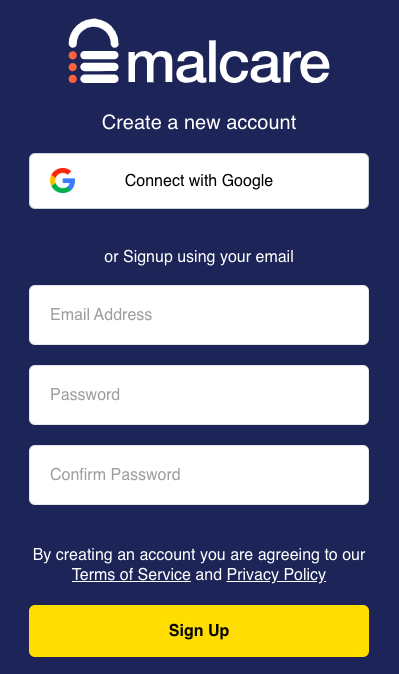
- Create an account: On the MalCare website, click Sign Up. Add an email address and create a password.
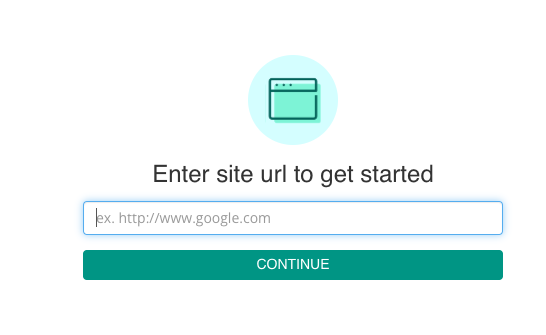
- Add your URL: Next, add your WordPress website to your MalCare account.
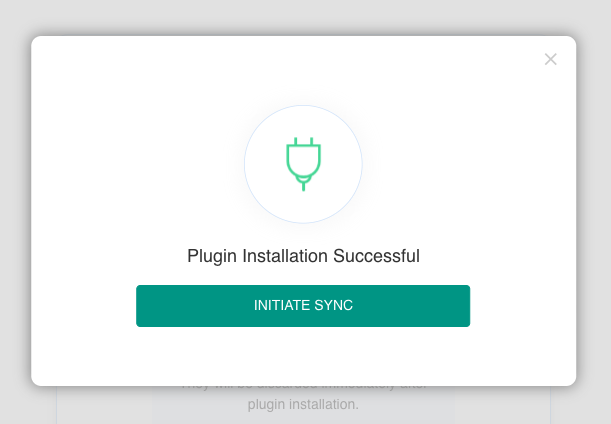
- Sync your site: You will then be prompted to initiate sync. Click the button and you’re done.
That’s it! With these simple steps, you’ve set up your MalCare account and linked it to your website, paving the way for enhanced security.
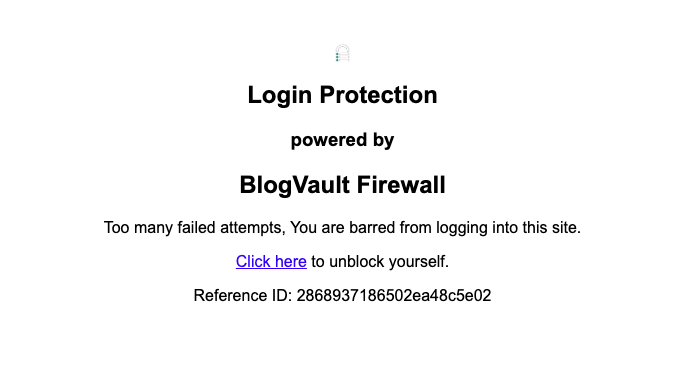
- Test the login limit: Now it’s time to ensure that it functions as intended. Attempt to log in incorrectly 10 times and as quickly as possible. Understand what it looks like to be locked out by MalCare. Then, use reCAPTCHA to sign back in.
The limit login feature is just one part of MalCare’s security arsenal, which also includes a robust malware scanner and effortless one-click malware removal.
Why do we recommend MalCare?
- More than just login security: While login control is a pivotal aspect of WordPress security, it’s just one piece of the puzzle. Your website also needs protection against various other threats which is where MalCare comes in with its:
- No configuration setup: MalCare’s login limiting feature operates automatically once your website is connected to your MalCare account. There’s no complex setup or tedious configuration required.
- No lengthy lockouts: Unlike some other plugins that impose time-based lockouts, MalCare’s reCAPTCHA solution ensures that genuine users won’t find themselves locked out for extended periods. The captcha serves as a quick and effective means to resolve any lockout issues.
2. Limit login attempts in WordPress using a dedicated plugin
If you’re in search of a highly customizable plugin to fortify your WordPress login security, the Limit Login Attempts Reloaded plugin is a good choice. This straightforward yet powerful tool is designed to excel at one thing—enhancing your login protection.
- Install and activate the plugin: On the wp-admin dashboard, click Plugins in the sidebar. Then click Add New. Then, look for Limit Logins Reloaded in the search bar. Click Install and Activate.

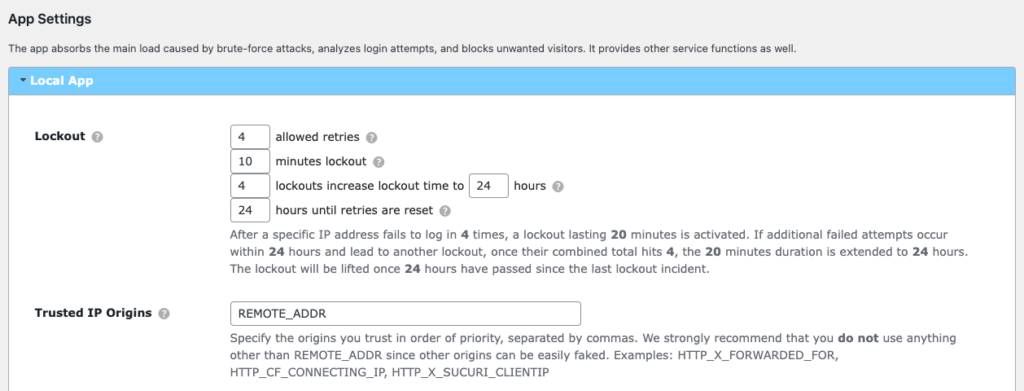
- Customize the parameters: Navigate to the plugin settings and decide the parameters of allowed retires, lockout times, etc. to suit your security preferences:
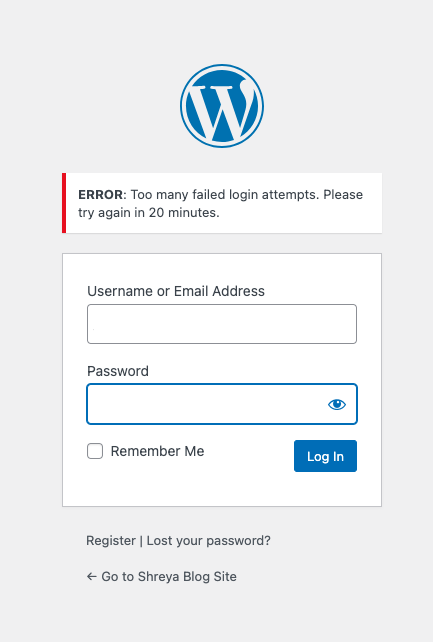
- Test the plugin: Test your setup to ensure that the plugin works as intended. Attempt to log in incorrectly and verify that you are getting locked out.
Although there are advantages to using plugins that do one thing well, a well-architected site shouldn’t have too many plugins. Instead, install MalCare, a comprehensive security plugin that has the ability to limit logins as a part of its larger suite of features.
3. Limit login attempts in WordPress without a plugin
It is possible to develop the code to limit login attempts in WordPress and to insert it to your site but we don’t recommend this method. It requires changes to core files and some technical expertise. The code needs to be added to the functions.php file of an active theme. We recommend that you create a child theme because any theme updates in the future could override your customizations. Instead, make changes in your child theme to ensure they remain intact. We also recommend that you backup your site first. This ensures that you can easily restore your site to its previous state if anything goes wrong during the customization process. With that, let’s get started:
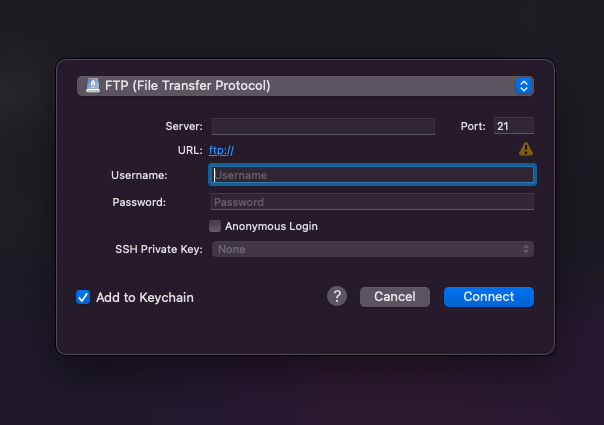
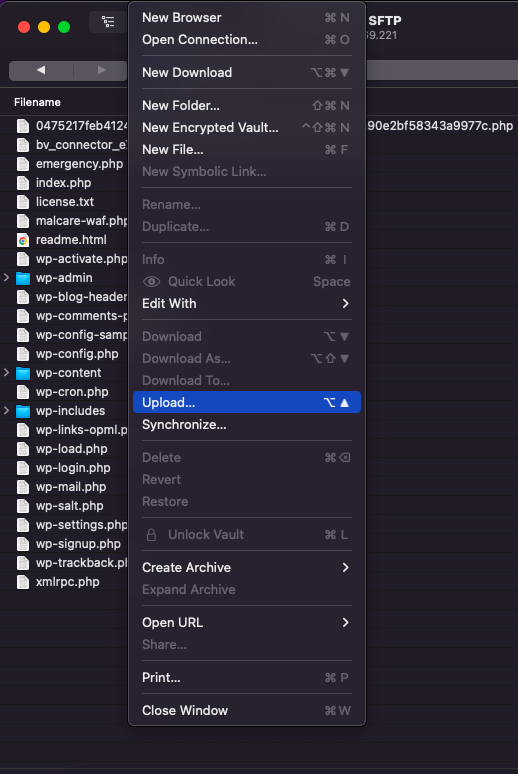
- Connect to the site server: We’re using Cyberduck but you can use any other FTP client like FileZilla as well. Click Open Connection and use your application credentials – username, password, and IP address – to connect to your server. These are details you can find with your hosting provider.
- Open the the functions.php file on a text editor: Navigate to your root folder. In our case, this was called the public_html. Then look for the wp-content folder and then the folder for the active theme. Find the functions.php file and download it. Then open the downloaded file in a text editor so you can edit it.
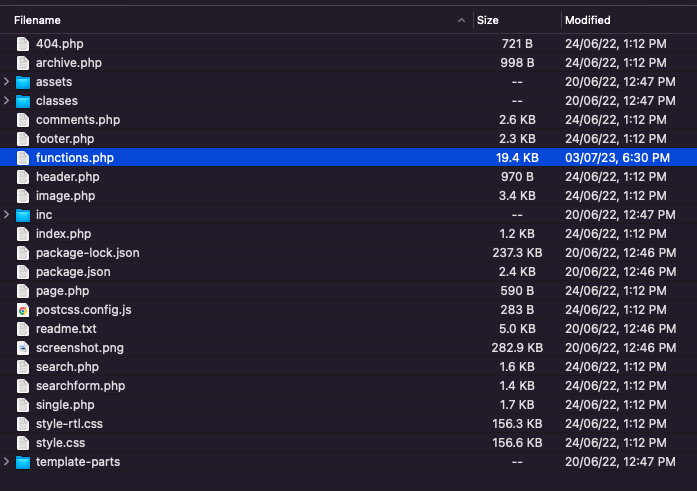
- Add the custom code: Then, add the following code in the end of functions.php file:
function check_attempted_login( $user, $username, $password ) {
if ( get_transient( ‘attempted_login’ ) ) {
$datas = get_transient( ‘attempted_login’ );
if ( $datas[‘tried’] >= 3 ) {
$until = get_option( ‘_transient_timeout_’ . ‘attempted_login’ );
$time = time_to_go( $until );
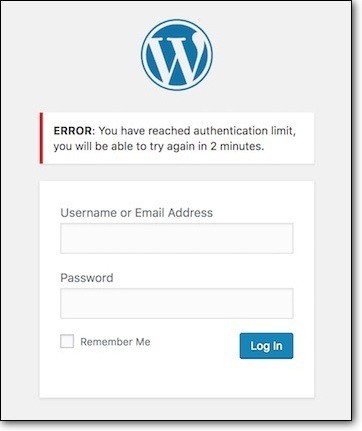
return new WP_Error( ‘too_many_tried’, sprintf( __( ‘<strong>ERROR</strong>: You have reached authentication limit, you will be able to try again in %1$s.’ ) , $time ) );
}
}
return $user;
}
add_filter( ‘authenticate’, ‘check_attempted_login’, 30, 3 );
function login_failed( $username ) {
if ( get_transient( ‘attempted_login’ ) ) {
$datas = get_transient( ‘attempted_login’ );
$datas[‘tried’]++;
if ( $datas[‘tried’] <= 3 )
set_transient( ‘attempted_login’, $datas , 300 );
} else {
$datas = array(
‘tried’ => 1
);
set_transient( ‘attempted_login’, $datas , 300 );
}
}
add_action( ‘wp_login_failed’, ‘login_failed’, 10, 1 );
function time_to_go($timestamp)
{
// converting the mysql timestamp to php time
$periods = array(
“second”,
“minute”,
“hour”,
“day”,
“week”,
“month”,
“year”
);
$lengths = array(
“60”,
“60”,
“24”,
“7”,
“4.35”,
“12”
);
$current_timestamp = time();
$difference = abs($current_timestamp – $timestamp);
for ($i = 0; $difference >= $lengths[$i] && $i < count($lengths) – 1; $i ++) {
$difference /= $lengths[$i];
}
$difference = round($difference);
if (isset($difference)) {
if ($difference != 1)
$periods[$i] .= “s”; $output = “$difference $periods[$i]”;You can customize the values to meet your specific login security requirements. In the case of this code, you’ll notice the number 3 at the end of line 4 of code. This implies that a user gets locked out after 3 failed attempts. The number 3 can be changed, as you’d like. Similarly, look for the following piece of code:
 if ( $datas[‘tried’] <= 3 )
            set_transient( ‘attempted_login’, $datas , 300 );
    } else {
        $datas = array(
            ‘tried’     => 1
        );
        set_transient( ‘attempted_login’, $datas , 300 );
    }
}
This means that the lockout happens for 300 seconds or 5 minutes. You can replace it with a number of your choice.
- Upload the file: Once you’re done, save the file and upload the edited file to your server.
- Test the login limits: Test the process when you’re done. Try logging in with incorrect credentials and verify that the restrictions are enforced.
Troubleshooting issues with the manual method
There are a few things that can go wrong when you limit login attempts in WordPress without plugin. We have covered some issues commonly faced during the manual process in this section.
- The theme doesn’t have a functions.php file: Some themes, like the Twenty Twenty Three theme, don’t have the functions.php file, as they are block themes. In that case, you can either change the theme, or take the safer route and use MalCare instead.
- Added the code, but it isn’t working: Double-check the code for any syntax errors or typos. It’s also possible there are some conflicting plugins. To troubleshoot which one, deactivate plugins one by one to see if that helps.
- Critical/fatal error caused after code was added: First, access your WordPress directory through FTP or your hosting provider’s file manager. Next, navigate to the location of your child theme’s functions.php file. Edit the functions.php file to remove the recently added code. Save the file and upload it back to your server. To ensure a smooth recovery, clear your browser cache and cookies and attempt to access your website again. If the issue persists, recover your site using the backup you had originally taken.
Why we don’t recommend the manual method
When considering the manual method, it’s important to be aware of its drawbacks:
- Potential for error: Manual code changes carry a great risk of introducing errors or typos in the code, which can disrupt your website’s functionality.
- Critical theme file: Editing a critical theme file, such as functions.php, is discouraged. Your WordPress site relies on an active theme, which, in turn, depends on this file. Any mistake can trigger a domino effect, potentially leading to a fatal error that renders your site inaccessible.
- Difficult to change, maintain, or remove: Manual code changes can be challenging to modify, maintain, or remove if needed in the future. This lack of flexibility can hinder your ability to adapt to evolving security requirements.
- Requires access to site files: Implementing manual code alterations necessitates access to your site’s files through methods like FTP. This may be unfamiliar or intimidating for some website owners.
Should you block login attempts in WordPress?
The practice of blocking login attempts in WordPress is a great security measure, but it’s not without its considerations. On one hand, it serves as a robust defense against unauthorized access by thwarting brute-force attacks and safeguarding against credential stuffing. However, users may worry about potential inconveniences or account lockouts resulting from these limits. To provide a comprehensive perspective, it’s important to delve into both the advantages and disadvantages of limiting login attempts.
Pros
- Enhanced security: It significantly reduces the chances of malicious actors gaining unauthorized access to your site.
- Reduces server load: By limiting login attempts, you can effectively reduce the server load caused by bot-driven bad login requests. This helps maintain the responsiveness of your site for genuine visitors.
Cons
- Risk of locking out legitimate users: One drawback of login limitations is the potential for locking out authorized users if they exceed the specified login attempts. However, with solutions like MalCare, this issue can be quickly resolved by users themselves through reCAPTCHA verification, minimizing inconvenience.
- Dependence on third-party plugins: Like a lot of security measures on a WordPress site, you may need to use a plugin. As long as you’re using reputable plugins like MalCare, this should not be too much of an issue. In fact, utilizing such plugins can significantly reduce the time and effort required for security management, allowing you to focus on other aspects of website management that you enjoy.
What are some other ways to secure a login page?
While limiting login attempts in WordPress is indeed a vital component of website login security, it’s essential to recognize that it’s just one piece of the puzzle. There are other ways to block the effect that a brute-force attack can have on your site. Here are some login security measures that we would recommend:
- Use 2FA or passwordless login: Enhance login security by implementing two-factor authentication (2FA) or passwordless login methods. These mechanisms add an additional layer of protection by requiring users to provide a second form of verification, such as a one-time code or biometric data, before granting access.
- Integrate captcha or Google’s reCAPTCHA: Add an extra layer of security to your login page by requiring users to complete a challenge that automated bots typically struggle with, such as solving a captcha.
- Disable XML-RPC: Deactivate XML-RPC functionality if it’s not needed for your site. XML-RPC can be a potential vulnerability that attackers may exploit, as it is another way to log into a WordPress site.
- Monitor activity logs: Regularly review activity logs to detect any unusual or suspicious behavior on your site. This proactive approach helps identify potential breaches early on. Look out for failed login attempts, especially.
It is important to reiterate that login security is a single facet of WordPress security. For a more comprehensive defense of your WordPress site, you need to install a security plugin like MalCare. MalCare combines a malware scanner, cleaner, and an advanced firewall, which will also contribute to login security while repelling other kinds of attacks.
Final thoughts
While limiting login attempts in WordPress is important, comprehensive website security requires more. You need tools like malware scanning, vulnerability detection, a firewall, and malware removal. MalCare is the top choice, providing all these features to keep your website safe and secure.
FAQs
How many login attempts should be allowed before locking out a user?
The ideal number of login attempts before locking out users can vary based on your website’s security needs. However, a common recommendation is to set a limit of 3 to 5 login attempts. This strikes a balance between deterring brute-force attacks and ensuring that legitimate users don’t face unnecessary lockouts.
Can certain IP addresses be whitelisted to prevent lockouts?
Yes, many security plugins and systems offer the option to whitelist certain IP addresses or IP ranges. Whitelisting trusted IPs ensures that users with those IPs won’t be subject to lockouts, even if they exceed the specified login attempts. This feature is valuable for website owners who want to ensure uninterrupted access for specific users or locations.
What should you do if you get locked out of your own site due to login attempt limits?
If you find yourself locked out of your website due to login attempt limits, don’t panic. Most security solutions, including plugins like MalCare, provide mechanisms to unblock yourself. Typically, this involves completing a CAPTCHA or waiting for a set duration before trying to log in again. It’s a security measure to protect your site from unauthorized access, but it’s designed to be temporary and manageable.
Are there any risks of false positives with login attempt limits?
Yes, there can be risks of false positives when implementing login attempt limits. Legitimate users who mistype their passwords multiple times or have difficulties with CAPTCHA challenges may inadvertently trigger lockouts. To mitigate this, it’s essential to choose security solutions that offer user-friendly ways to resolve lockouts, such as CAPTCHA verification. Additionally, monitoring your site’s activity logs can help you identify and address false positives promptly, ensuring a smoother user experience while maintaining security.
Share it:
You may also like
![Top 9 ManageWP Alternatives To Manage Multiple Sites Easily [Reviewed]](https://www.malcare.com/wp-content/uploads/2022/12/malcare-default-image.jpeg)
Top 9 ManageWP Alternatives To Manage Multiple Sites Easily [Reviewed]
ManageWP is a popular name in the WordPress maintenance plugins market. People love how much you get for a free plan, how easy it is to set up, and how…

MalCare Proactively Defends Against Icegram Express SQL Injection Vulnerability
MalCare’s recent data has revealed numerous attempts to exploit a newly found SQL injection vulnerability in the Icegram Express plugin. Attackers commonly use this sophisticated SQL injection technique to extract…
Atomic Security’s Deep WordPress Integration Helps Protect Against Core XSS Vulnerability
The recent WordPress core vulnerability is a critical one, primarily because of two reasons. Firstly, it affects the WordPress core itself, which means that every WordPress site is vulnerable to…
How can we help you?
If you’re worried that your website has been hacked, MalCare can help you quickly fix the issue and secure your site to prevent future hacks.

My site is hacked – Help me clean it
Clean your site with MalCare’s AntiVirus solution within minutes. It will remove all malware from your complete site. Guaranteed.

Secure my WordPress Site from hackers
MalCare’s 7-Layer Security Offers Complete Protection for Your Website. 300,000+ Websites Trust MalCare for Total Defence from Attacks.


