
If you are searching for how to block IP addresses in WordPress, you may be dealing with repeated spam comments, failed login attempts, unwanted form submissions, or suspicious activity in your server logs.
Blocking the IP address can help reduce this activity, but the best approach depends on where the unwanted traffic is coming from and what you want to prevent.
This guide will show you how to block IP addresses in WordPress safely and explain when to use WordPress settings, a security plugin, your hosting control panel, or a firewall.
For comment spam, use Settings > Discussion > Disallowed Comment Keys. For login attacks, form spam, or repeat malicious traffic, use a security plugin, firewall, hosting control, CDN rule, or server rule instead.
WordPress has a built-in way to block comments from an IP address. It does not block that visitor from the whole site. If the IP is attacking your login page or sending heavy bot traffic, a security plugin or trusted firewall is usually the better choice because it can stop bad traffic before WordPress has to handle it.

Before you block an IP
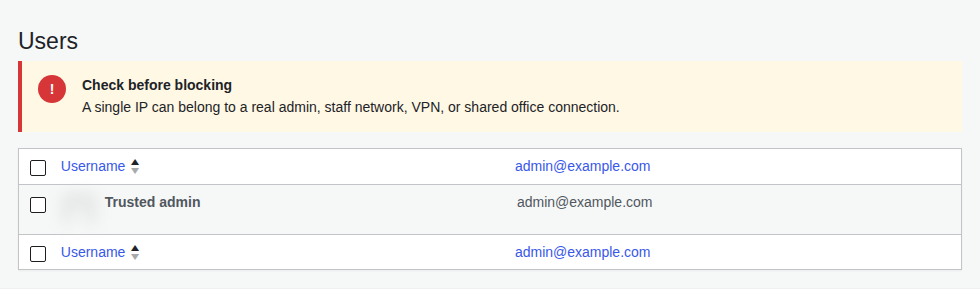
Do not block an IP just because it appears once. An IP address is the network address a request appears to come from, and one address does not always mean one person. It can belong to an office, mobile network, VPN, public Wi-Fi, uptime monitor, payment service, CDN, or your own team.
Block an IP only when you see a clear pattern:
- The same IP leaves many spam comments.
- The same IP causes repeated failed logins.
- A small group of IPs keeps sending form spam.
- One IP keeps requesting sensitive pages such as the login page.
- Logs show repeated scraping or bot requests from the same source.
Note 🛡️: Check your own IP before you block anything. Search “what is my IP” from your current network, then make sure that address is not on your block list.
Choose the right blocking method
The most common mistake is using a comment setting to solve a site-wide security problem. Use the smallest block that solves the problem, but make sure it works at the right place.
| Problem | Best place to block it | What it stops |
|---|---|---|
| Spam comments | Disallowed Comment Keys | Future matching comments |
| Failed login attempts | Security plugin, firewall, host, or CDN | Login abuse and bot requests |
| Contact form spam | Form plugin, security plugin, or firewall | Bad form submissions |
| Heavy scraping or bot traffic | CDN, host firewall, or web application firewall | Requests before WordPress loads |
| Private admin access | Firewall, CDN, host rule, or allowlist | Access to selected admin paths |
| Abuse from one region | Security plugin or firewall with country blocking | Traffic from selected countries |
A firewall is a protective filter in front of your site. It checks requests before they reach WordPress. A CDN is a service that serves your site through its own network, and many CDNs also let you block traffic before it reaches your host.
Find the suspicious IP address
Start where you first saw the problem. Do not copy an IP from one log and assume it explains a different issue.
Use WordPress comments for spam
Open Comments in your WordPress dashboard. WordPress shows the commenter’s IP beside the author details.

On our WordPress 7.0 test site, a test comment showed the IP 172.21.0.1 in the Comments screen. The WordPress REST API also returned that same value as author_ip, so the dashboard value is the recorded commenter IP.
Use security logs for login attempts
If the problem is failed logins, check your security plugin’s activity log, firewall, host, or CDN logs. Look for repeated attempts from the same IP in a short time. One failed login is not enough proof. Many failed logins from the same IP are worth acting on.
Use form logs for contact spam
Some form plugins record the submitter’s IP. If yours does, block the IP at the form or security plugin level first. That is safer than blocking the visitor from the whole site.
Use access logs for site-wide traffic
Your hosting account may offer raw access logs. These logs show the IP, page requested, time, and server response. They help you spot repeated hits to login pages, XML-RPC, checkout, search pages, or other URLs.
Note 🔎: If your site uses a CDN or reverse proxy, your server may see the CDN’s IP instead of the visitor’s real IP. In that case, block at the CDN or firewall layer, or ask your host to confirm that real visitor IPs are being passed correctly.
How to block an IP address in WordPress
Block comment spam in WordPress
Use this method only when the problem is spam comments from a known IP.
- Open the comment list and copy the spammer’s IP: Go to Comments and copy the IP shown beside the spam comment.
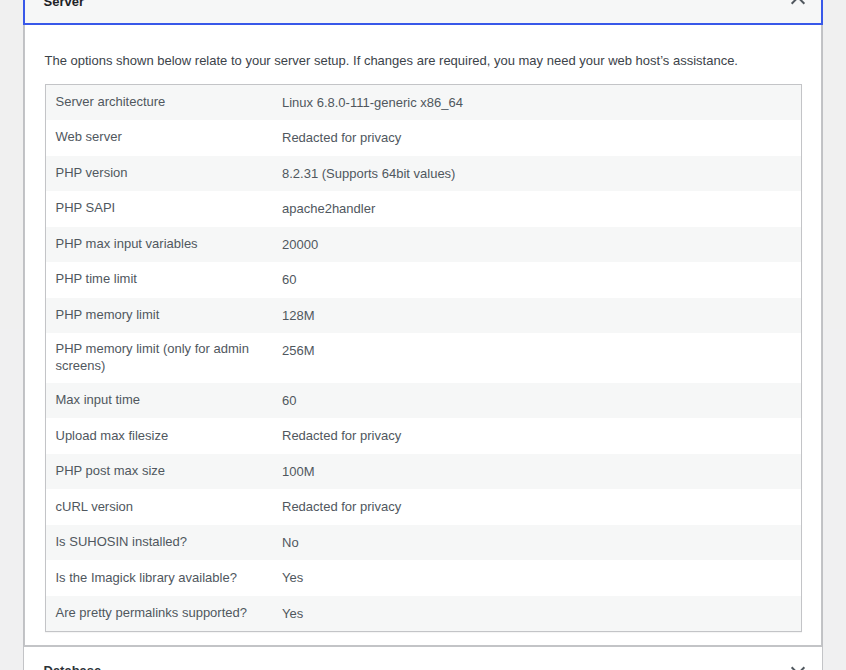
- Go to the Discussion settings: Open Settings > Discussion in the WordPress dashboard.
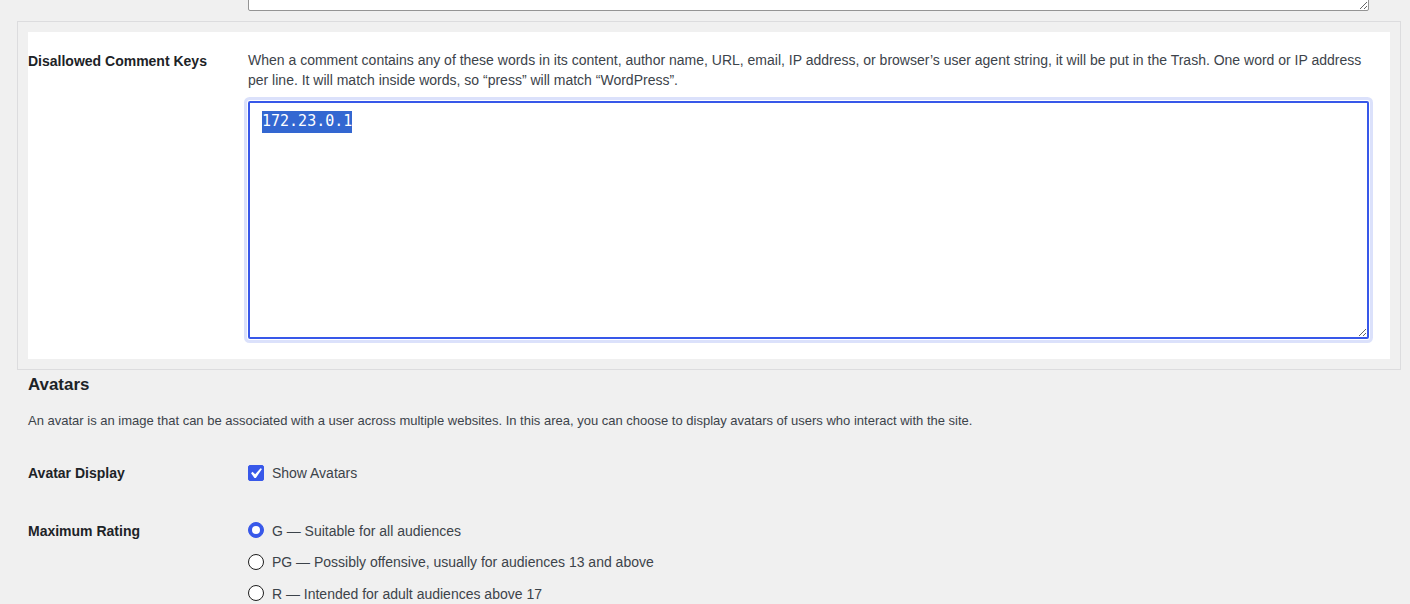
- Paste the IP into Disallowed Comment Keys: Add one IP per line in Disallowed Comment Keys.
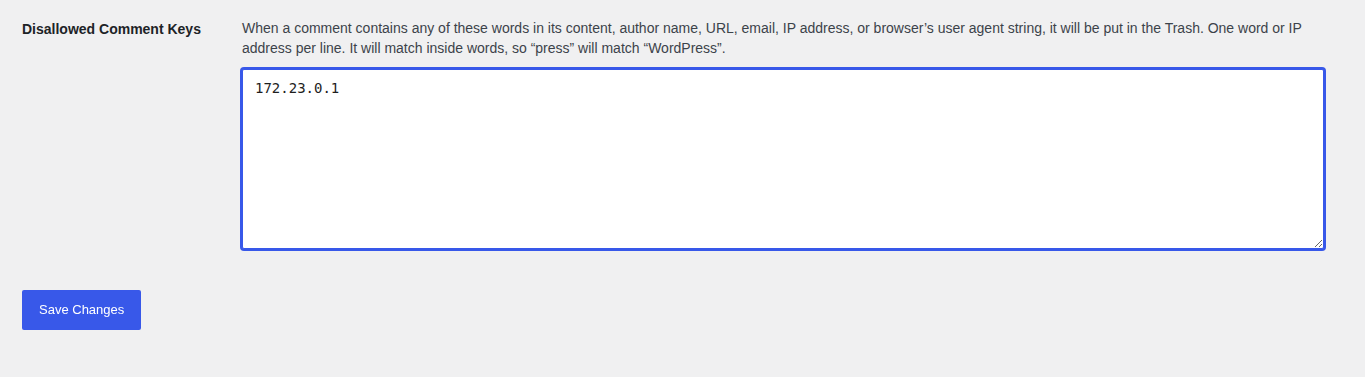
- Save and monitor the result: Click Save Changes, then check whether future comments from that IP go to Trash.
Older tutorials may call this field Comment Blacklist. In our WordPress 7.0 test, the current label was Disallowed Comment Keys.
This field checks more than the IP address. WordPress checks comment content, author name, URL, email, IP address, and browser user agent, which is the browser and device string sent with the comment. Matching comments go to Trash.
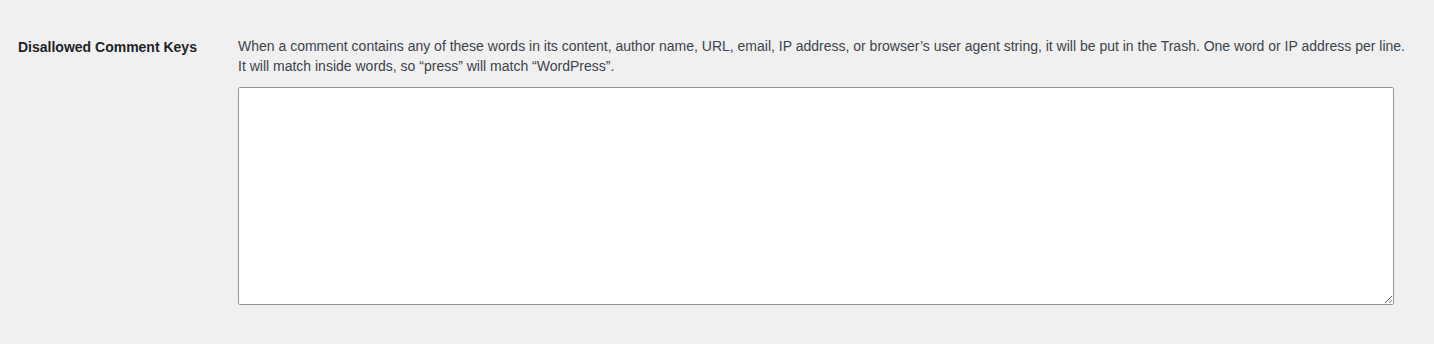
Note ⚠️: WordPress warns that matches can happen inside words. Add exact IP addresses, not short fragments or common words, or you may trash real comments by mistake.
Block an IP from the whole site
If the IP is hitting login pages, scraping content, or sending junk requests across the site, use your host, firewall, security plugin, or CDN.
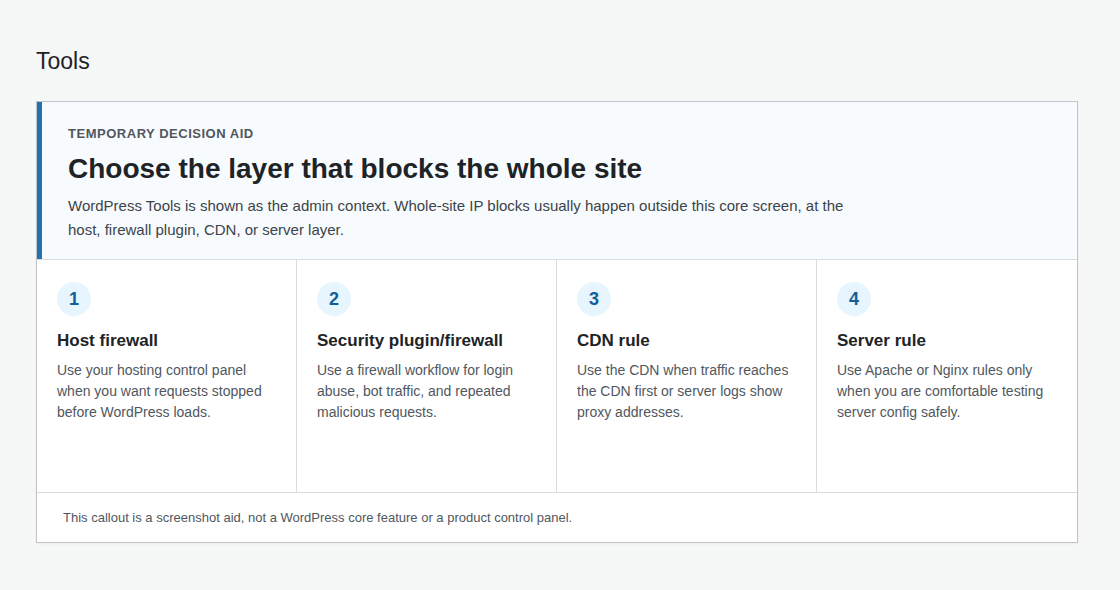
Use your hosting control panel
Many cPanel hosts have IP Blocker. Other hosts may call it firewall rules, access rules, deny rules, or security rules.
- Open the host security area: Log in to your hosting account and find the IP blocking tool.
- Add the exact IP address: Paste the IP you verified. Avoid blocking a range unless the abuse clearly comes from that range.
- Save the rule and test important pages: Check the homepage, login page, forms, checkout, and admin area. Test from a second network if you can, such as mobile data.
Host-level blocking is stronger than the WordPress comment setting because the request is stopped before WordPress handles it. It also has more risk. Shared IPs can include real users, staff, vendors, or customers.
Use a security plugin or firewall
For most site owners, a security plugin with a firewall is the easiest long-term option. It can block known malicious traffic, reduce brute force pressure, and save you from maintaining a growing manual list.
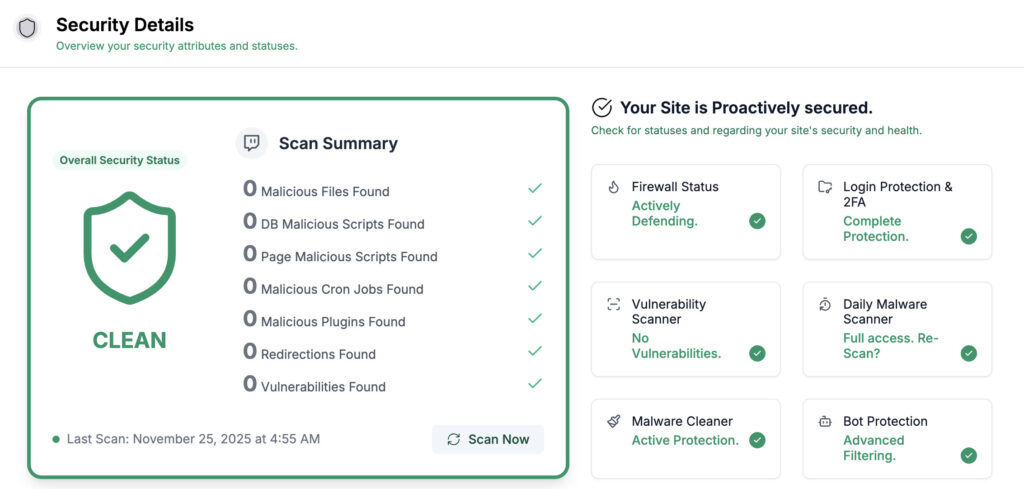
MalCare fits this use case because its firewall can automatically block malicious traffic instead of asking you to chase IPs one by one. It also supports geoblocking, which can block traffic from selected countries when that makes sense for your site.
Use geoblocking carefully. It can help if abuse clearly comes from a country your business does not serve. It can also block travelers, remote staff, agencies, vendors, or real customers using VPNs.
Note 🌍: Country blocking is a business decision, not a routine security setting. Use it only when you are comfortable losing legitimate traffic from that region.
Use a CDN rule
If your site is behind a CDN, add the block there when possible. The CDN sees traffic before your server does, so it is often the cleanest place to stop heavy bots, scraping, or repeated login attempts.
CDN rules are also useful when your server logs show proxy IPs instead of real visitor IPs. Blocking the proxy IP at your host can break normal traffic.
If your CDN decision is partly about speed during high traffic, Airlift’s WordPress CDN guide explains when a CDN helps and when it will not fix the root problem.
Use .htaccess carefully
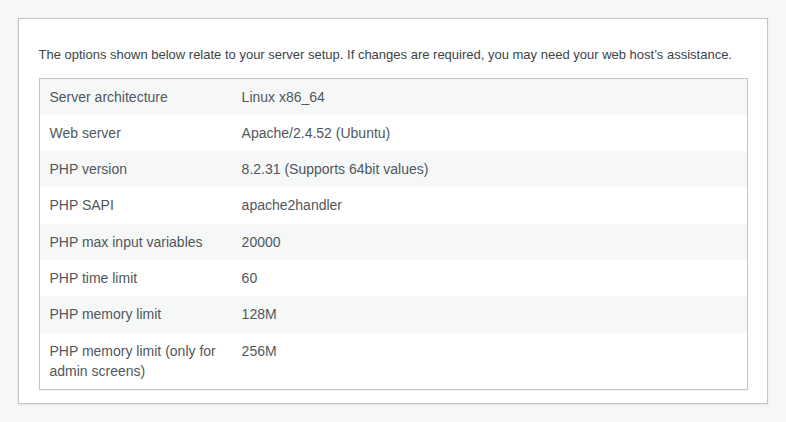
The .htaccess file is an Apache server settings file. It can block IP addresses before WordPress loads, but one mistake can take the site down.
Use this method only if your host uses Apache and you are comfortable editing server files. If your host uses Nginx only, .htaccess rules will not work.

- Backup the file before editing: Download a clean backup first.
- Use your host’s current syntax: Many old tutorials use outdated Apache rules. Apache 2.4 uses newer Require rules instead of older Order, Allow, and Deny rules.
- Test right after saving: Open your homepage, login page, admin area, forms, and checkout.
If you lock yourself out after an .htaccess edit, undo the change through your host’s file manager, FTP, SSH, or support. The block happens before WordPress loads, so the WordPress dashboard may not help.
For a deeper server-file reference, BlogVault has a guide to ban users with .htaccess without breaking WordPress.
IP blocking limits and recovery
Know when manual blocking will fail
Manual IP blocking works best for one known, stable offender. It works poorly against changing IPs, VPNs, botnets, and distributed attacks, where many networks send the same bad behavior.
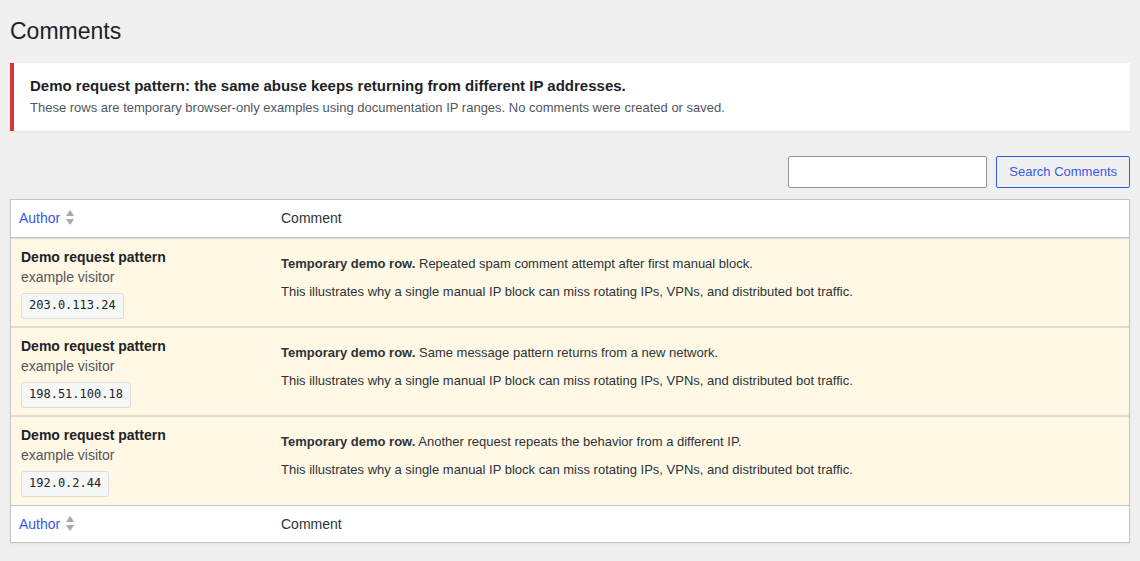
Use stronger controls when the problem keeps coming back:
- Use login rate limits for repeated failed logins.
- Add two-factor authentication for admin accounts when available.
- Use a firewall or security plugin for bot traffic.
- Use form spam protection for contact form abuse.
- Scan the site if you see redirects, strange files, unknown admin users, or defaced pages.
If you still see the blocked IP in logs, the block may still be working. Some tools log requests before they deny them. Also check whether you blocked at the right layer. A comment block will not stop login attempts.
If you block the wrong IP
Undo the block in the same place where you created it.
- For comment blocks, remove the IP from Settings > Discussion > Disallowed Comment Keys.
- For host blocks, remove the rule from the host’s IP blocking tool.
- For firewall or CDN rules, disable or delete the matching rule.
- For .htaccess, restore your backup or remove the rule you added.
If the IP belongs to a trusted person or service, you may need to whitelist it. Whitelisting means adding an allow rule for a trusted IP. Keep those rules simple and documented, because mixed allow and block rules across several tools can become hard to trace.
Note 🧭: Review old block rules every few months. IPs get reassigned, teams change networks, and attackers move on. A stale block list can quietly hurt real users later.
Conclusion
Blocking IP addresses in WordPress is useful when you know what the IP is doing and choose the right place to block it. Use Disallowed Comment Keys for comment spam, and use a host tool, CDN, firewall, or security plugin when you need to stop login abuse, form spam, scraping, or heavy bot traffic.
Do not treat manual IP blocking as your full security plan. It is a precise fix for a narrow problem. For repeated attacks, use a firewall, login protection, malware scanning, strong passwords, and two-factor authentication where possible. That mix gives you better protection without turning your day into log maintenance.
FAQs
WordPress has Disallowed Comment Keys under Settings > Discussion. It can send comments from a matching IP to Trash, but it does not block the visitor from the whole site.
Open Comments in the WordPress dashboard. WordPress shows the recorded IP beside the commenter’s author details.
Yes. Use your host’s IP blocking tool, a CDN rule, a firewall, a security plugin, or a server rule. The built-in WordPress Discussion setting only affects comments.
It can reduce attempts from known IPs, but it will not stop attackers who rotate addresses. Use login rate limits, strong passwords, two-factor authentication, bot protection, and a firewall.
Yes, if your host, CDN, firewall, or security plugin supports them. Keep the range as small as possible, because broad rules can block legitimate users on the same provider or network.