
Spamhaus blocking my emails can be alarming, especially when a customer is waiting for an order confirmation or a user cannot reset their password.
But the warning does not automatically mean your WordPress site has been hacked. Start with the bounce message, which can reveal the sending IP address or domain, the Spamhaus dataset involved, and where the rejection occurred.
Those clues can help you determine whether to secure WordPress, adjust your mail route, or contact your provider.
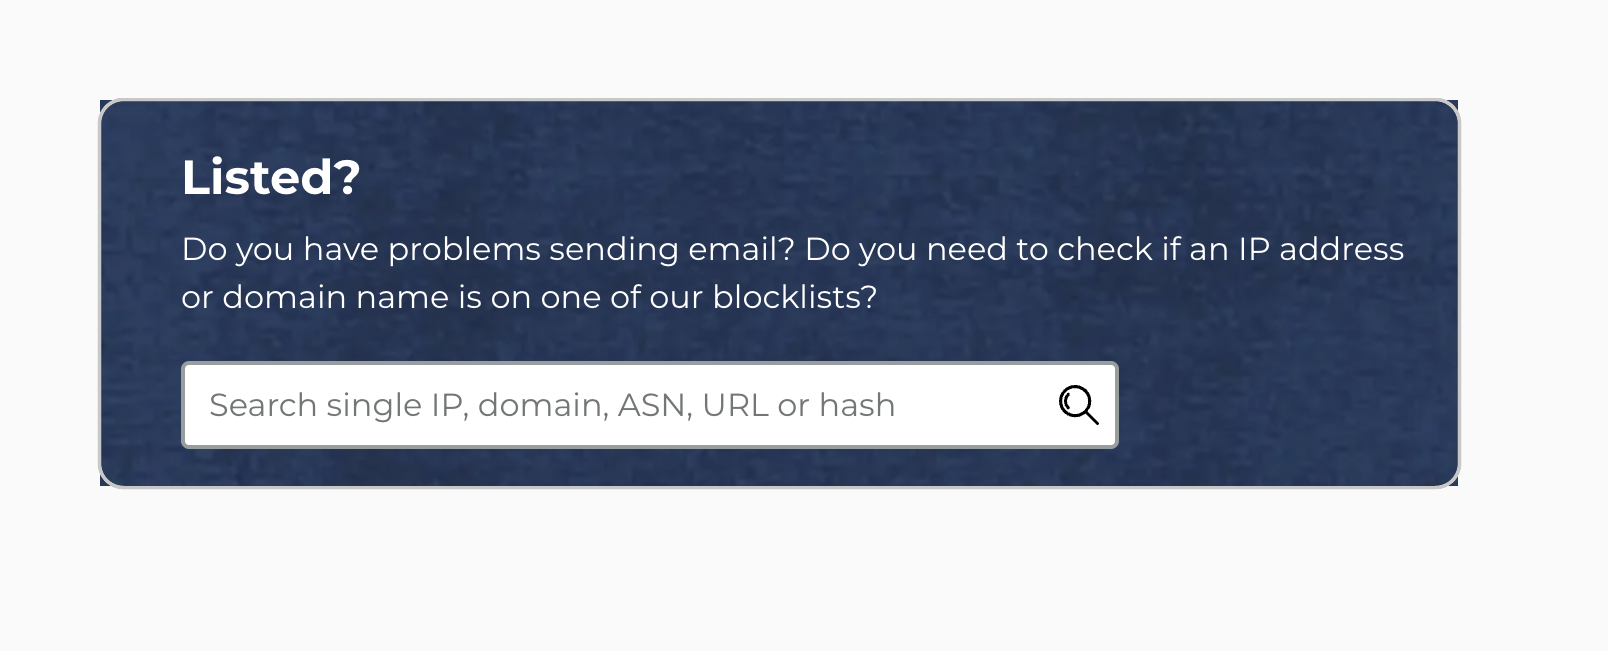
TL;DR: Open the official Spamhaus checker and record the listed IP or domain, list, reason, and removal instructions before changing WordPress or asking for removal. PBL usually means the site needs an email service; SBL, XBL, or DBL call for investigation by the provider or site owner responsible for the IP or domain.
Find out what actually failed
Start with the failed message, not with a plugin change. Save the bounce or rejection while you can still see it. Look for these four details:
- What is listed? It may be an IP address, which identifies the server that sent the message, or your domain, such as
example.com. - Which list is named? Spamhaus has separate lists for different problems. A result such as ZEN may group several lists, so open it and find the underlying list.
- Who rejected the message? Note whether it was Microsoft, Google, another email provider, or a private mail server.
- Where did it stop? The message may have failed when WordPress handed it to a mail service, or later when that service tried to deliver it to the recipient.
For example, an order email can follow this path: WordPress creates the message, your host or email service sends it, and the customer’s email provider checks it. If the message is refused at the last step, changing the WordPress form will not fix the sending address. If WordPress cannot hand the message to the email service, the problem is earlier in the path.
Write down the time, message type, listed IP or domain, list name, and exact reason. Look up that IP or domain in the official checker. Check both when needed. A new IP will not solve a domain listing, and a malware scan will not fix a mail route that is not allowed to send directly.
Follow the message back to its sender
The IP address in the bounce may not belong to your WordPress server. Your site may use your web host’s mail server, an SMTP plugin, a separate email service, a shared server, or direct delivery from the website’s server.
Ask your host or email provider one simple question: “Which public IP sent this message?” Then ask whether that IP is shared and who controls it; the answer they give you determines who can fix the problem.
If an email service accepted the message and the customer’s provider rejected it later, the email service controls the outgoing path. If the IP belongs to your host, the host may need to investigate or ask Spamhaus to remove it. A shared or changing address may reflect another customer’s activity, not yours.
Match the list to the fix
The list name tells you which path to follow. You do not need to memorize the names; use the description in the checker result and choose the matching action.
| List | In plain language | What to do first |
|---|---|---|
| PBL | The IP is in a range that should not deliver mail directly to other email servers. | Send WordPress mail through an authenticated email service instead. |
| SBL | Spam or other abusive activity was seen from the IP. | Ask the company that controls the IP to investigate and stop the abuse. |
| XBL | The IP is linked to a compromised machine, malware, open proxy, or similar abuse. | Investigate the server, device, host, or shared network that owns the IP. |
| DBL | The domain is linked to abusive, phishing, malware, or spam-related content. | Check the website, links, forms, accounts, and email content—not only the IP. |
PBL is a sending-policy problem and does not, by itself, say that you sent spam. SBL and XBL require an investigation into the system using the IP. DBL follows the domain, so moving mail to another IP may leave the problem in place.
If the list points to WordPress
Scan the site using a WordPress security plugin when the listed IP or domain belongs to your site or server and you also see signs such as unfamiliar administrator accounts, changed files, new extensions, strange redirects, abused contact forms, or mail that you did not send.
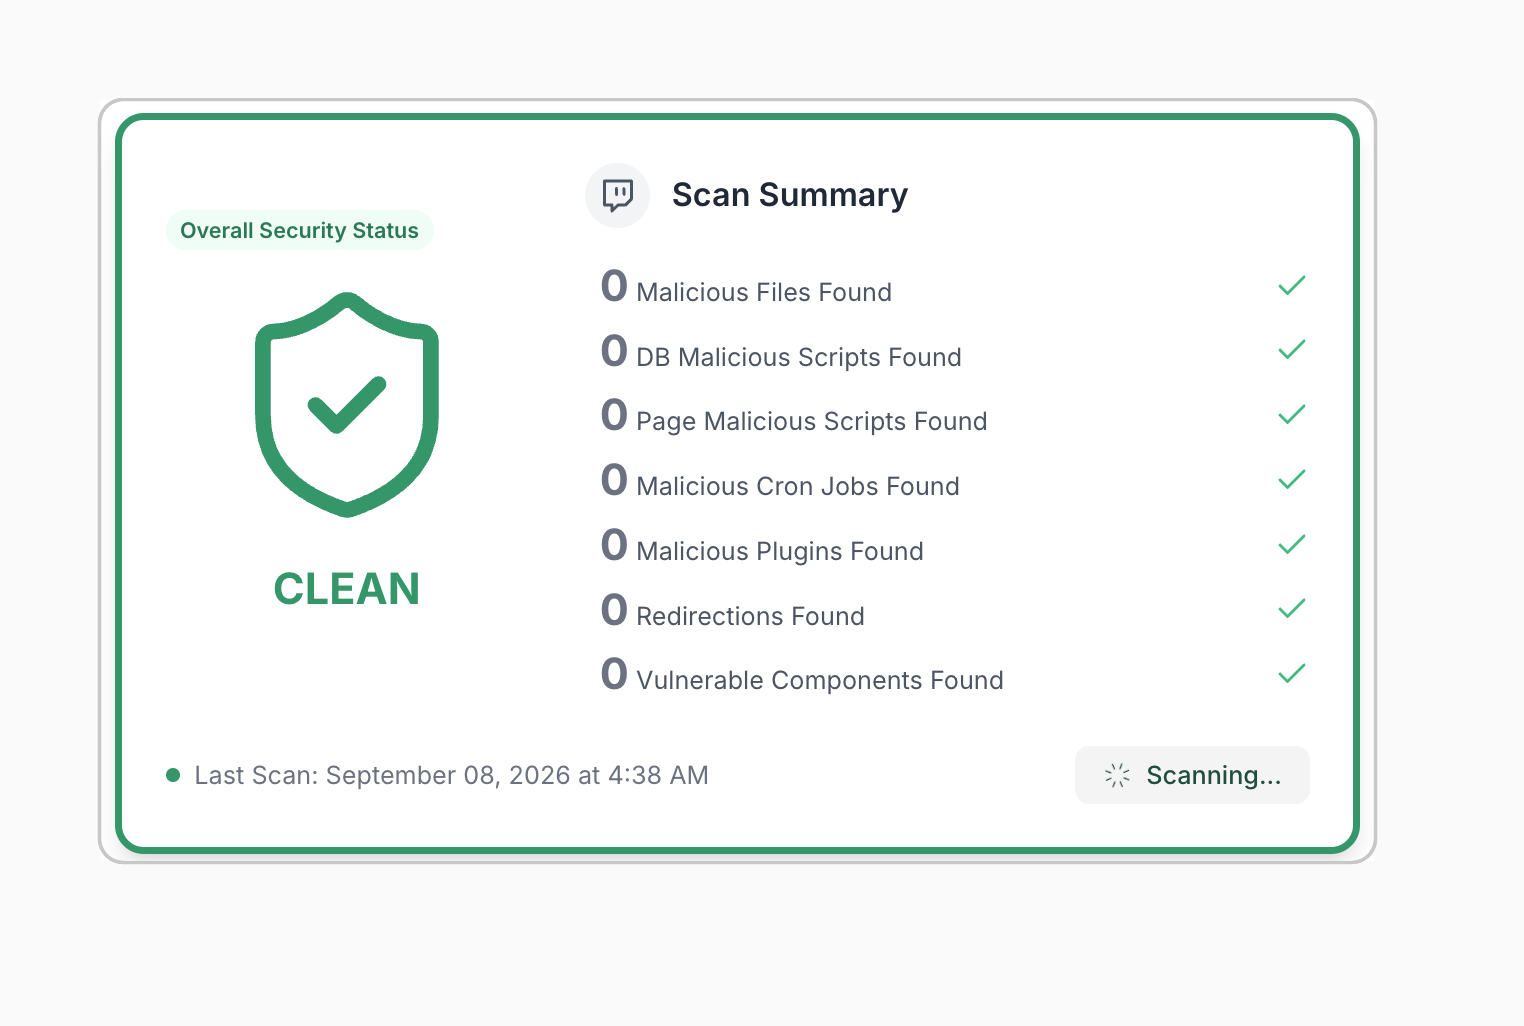
Picture the difference: you find that the site sent hundreds of password-reset messages overnight, even though nobody at the company sent them. That is a reason to treat the site or one of its accounts as compromised. By contrast, a clean site that sends directly through a PBL address has a mail-routing problem, even if every message is legitimate.
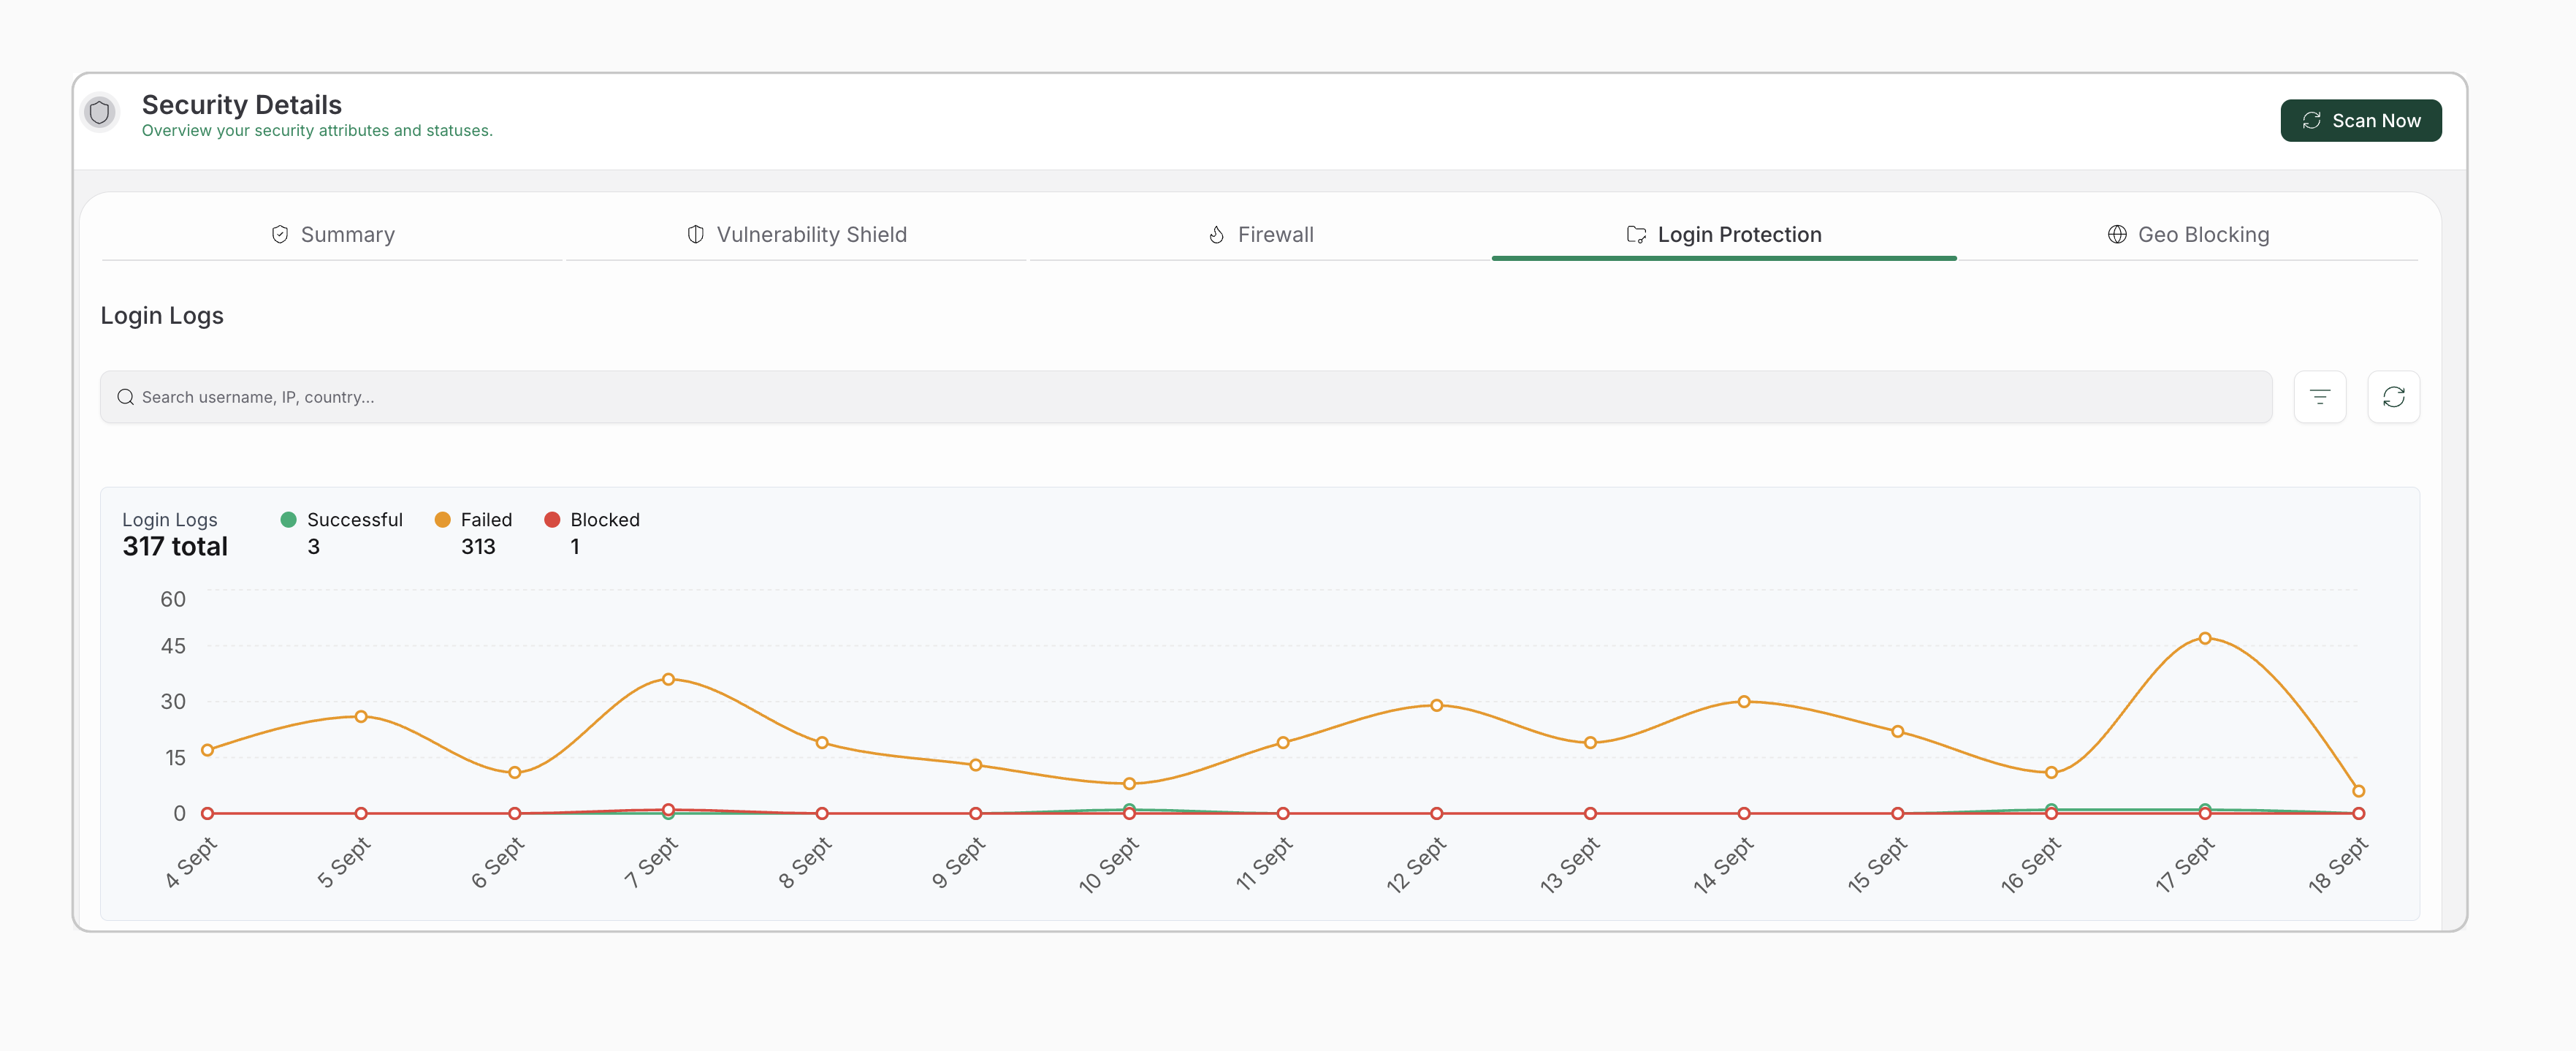
If WordPress is the likely source:
- Ask the host or email provider to pause suspicious sending and keep the relevant mail and server logs.
- Scan the site and database for malicious files, changed content, unknown users, unfamiliar extensions, scheduled tasks, and redirects.
- Remove the malicious code or restore a known-clean backup. Fix the way the attacker got in before bringing the site fully back online.
- Update the site and change every related password. Include WordPress, hosting, database, FTP or SSH, email, and administrator accounts. Revoke application passwords, remove unused extensions, and turn on two-factor login where available.
- Close the abused sending route and check again. A form should not let visitors or automated scripts send arbitrary mail. Compare a fresh scan with provider and server logs, and make sure unwanted sending has stopped.
A normal-looking WordPress dashboard does not prove that the site is clean. Hidden files, a stolen password, or an abused form can keep sending mail without an obvious change on the site.
MalCare can help when this branch points to a WordPress infection: it can be considered for malware scanning and, where its current capabilities fit the situation, cleanup help and ongoing security monitoring. It cannot remove an IP from Spamhaus, repair a host-owned mail server, or replace an authenticated email relay.
If the list is PBL or the provider owns the IP
PBL usually means that the site is sending mail in the wrong way for that IP. The message may be genuine, but the website is trying to deliver it directly to the recipient’s email server from an address that is not meant to do that.
The practical fix is to send WordPress mail through authenticated SMTP. In plain terms, the site signs in to an email service, hands the message to that service, and lets the service deliver it. This is different from the web host’s basic “send mail” function.
Your host or email provider should tell you which service to use and whether it blocks direct mail delivery. After the change, send a test password reset or order email to an address you control. Check that the email service accepted it and record the public IP it used; WordPress saying “sent” is not enough.
The connection settings are where this authenticated handoff is configured.
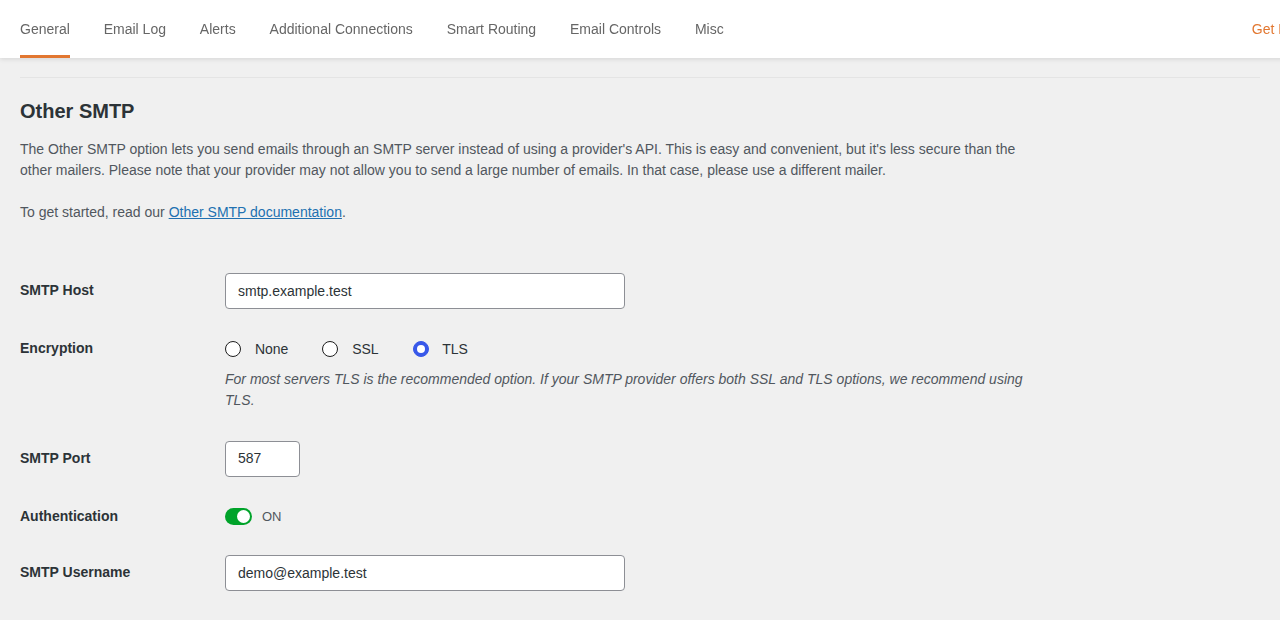
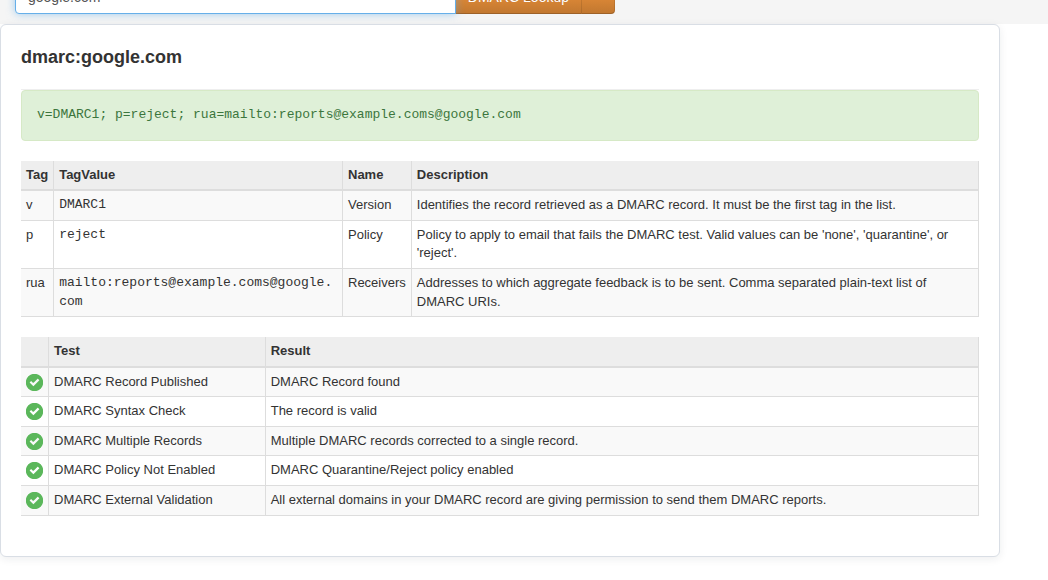
You may also need correct SPF, DKIM, and DMARC records. These are settings that tell receiving email providers which service may send for your domain and help them check that a message is genuine. They improve trust and delivery, but they do not remove a listed IP or clean a hacked site. If you control the mail server yourself, the server name and reverse DNS settings must also match the sending address.
Do not buy a dedicated server or IP as your first response. A new address can have a poor history, and the same unwanted sending can create the same problem again. PBL removal is for an IP that actually runs a properly configured mail server; a WordPress site usually needs an authenticated relay instead.
If the list is SBL, XBL, or DBL
- For SBL, contact the host, internet provider, or email service that controls the listed IP. Give it the checker result, exact reason, time, and evidence of unwanted sending. You usually cannot solve an IP-level listing from WordPress.
- For XBL, look beyond WordPress. The address may belong to a hacked server, infected computer, open proxy, shared host, or changing internet connection. The network owner may need to find the affected machine and stop the activity.
- For DBL, inspect the domain itself: unexpected redirects, downloads, links, email templates, forms, users, and passwords. A clean sending IP will not solve a domain listing while the domain still serves the material that caused it.
If the provider owns the listed IP, give it the evidence it needs and ask it to follow the current Spamhaus instructions. Keep private passwords and full secrets out of screenshots and support tickets.
Ask for removal only after the fix
Do not request removal while the unwanted sending, compromised system, or domain problem is still active. First stop the cause, then confirm with logs or a fresh scan that it has stopped. Follow the removal instructions shown by the official checker because the responsible person differs by list and by network owner.
- A useful request explains what happened, what was changed, and how you checked that the problem ended. “We are a legitimate business” does not show that the sending path was repaired. For a provider-owned IP, the host or email service may need to make the request.
- Do not pay a third party that promises guaranteed Spamhaus removal. Spamhaus controls its own removal process. Repeated requests while the cause is active can fail or lead to the address being listed again.
- Removal from Spamhaus is only one part of recovery. Gmail, Microsoft, another blocklist, or a recipient’s spam filter may still treat the mail differently. A message in spam was accepted; a hard rejection means you still need the provider’s reason.
Test the message that failed
Once the responsible system is fixed, repeat the action that exposed the problem: place a test order if an order email failed, or request a new reset if a password email failed. Test more than one affected provider when possible. For each test, check:
- Did WordPress hand the message to the email service?
- Which public IP and domain did the service use?
- Was the message rejected, or did it arrive in spam?
- Do SPF, DKIM, and DMARC checks pass when your provider says they should?
- Do the host or email-service logs show any unwanted sending?
Prevent another Spamhaus problem
After delivery works again, keep the route, site, accounts, forms, and records under review:
- Use an authenticated email service for WordPress messages instead of direct delivery from a residential, changing, or policy-listed IP.
- Keep WordPress and its extensions updated, remove unused extensions, and give each administrator a unique password, limited access, and two-factor login where possible; consider IP whitelisting for private admin areas.
- Watch forms and email volume for sudden spikes or messages nobody created.
- Keep SPF, DKIM, and DMARC accurate, separate transactional mail from marketing mail when possible, and retain enough logs to identify the sending account, script, IP, and time if the problem returns.
Conclusion
When Spamhaus appears in a failed email, follow that message backward. Identify the listed IP or domain, list, stopping point, and responsible company before changing WordPress. PBL usually needs an authenticated relay; SBL, XBL, and DBL need investigation of abuse, compromise, or domain reputation. Fix the responsible system, confirm that unwanted sending has stopped, and then follow the official removal instructions. A WordPress scan, correct mail routing, and Spamhaus removal solve different parts of the problem.