How to Configure the X-XSS Security Header in WordPress
by
7-layers of Security for Your WordPress Site
Your website needs the most comprehensive security to protect it from the constant attacks it faces everyday.

Are you concerned about protecting your WordPress site from Cross-Site Scripting (XSS) attacks? Wondering how to leverage browser capabilities to prevent malicious script injections? Do the varying levels of browser security among your users concern you?
This is where setting up proper HTTP headers plays a pivotal role. And among these headers, the X-XSS security header holds a particular significance as it helps protect your site against XSS attacks.
As web technology evolves, so do the standards for security. While the X-XSS-Protection header has now been deprecated in favor of the more robust Content-Security-Policy (CSP) header, older browsers still rely on it for basic defense against cross-site scripting threats. But how can you ensure backward compatibility and maintain a strong security stance for all site visitors?
This article navigates the complexities of configuring the X-XSS-Protection HTTP header in WordPress, providing a crucial layer of protection for users on legacy browsers without compromising on security best practices.
TL;DR: The X-XSS-Protection HTTP header, while deprecated and superseded by the Content-Security-Policy (CSP) header, remains a relevant security measure for users on older browsers. However, for comprehensive website safeguarding, we recommend using MalCare, whose proactive firewall and daily malware scanning ensure that your site is protected against the latest threats, including XSS.
What is the X-XSS Protection HTTP header in WordPress?
The X-XSS-Protection HTTP header is a security feature once widely supported by web browsers to prevent XSS attacks. When a browser detects a potential XSS attack on a webpage, this header instructs the browser to take specific actions, such as sanitizing the page (removing unsafe parts) or blocking the page entirely to prevent the malicious script from executing.
The X-XSS Protection HTTP header provides four modes of control:
- 0: This disables XSS filtering.
- 1: This enables XSS filtering and is the default option for most browsers. It ensures the browser sanitizes web pages by removing unsafe parts when it detects an XSS attack.
- 1; mode=block: This option also enables XSS filtering. But in this case, if the browser detects an XSS attack, it will not sanitize the page and prevent its loading.
- 1; report=<reporting-URi>: This option also enables XSS filtering. But in this case, if the browser detects an XSS attack, it will sanitize the page and report the event to the uniform resource identifier (URI) mentioned in the <reporting-URi> section.
Despite its initial purpose, X-XSS-Protection HTTP header has now been deprecated. This is due to the introduction and widespread adoption of the Content Security Policy (CSP) header, which offers a more comprehensive protective approach against a variety of web-based attacks, including XSS. Modern browsers have either scaled back support or have completely removed the functionality provided by the X-XSS-Protection header, relying on CSP instead.
For users on dated browsers, enabling the X-XSS-Protection HTTP header can still provide some level of XSS protection, making it relevant in the context of cross-compatibility and supporting a broad range of website visitors.
Check your WordPress site for X-XSS Protection HTTP configuration
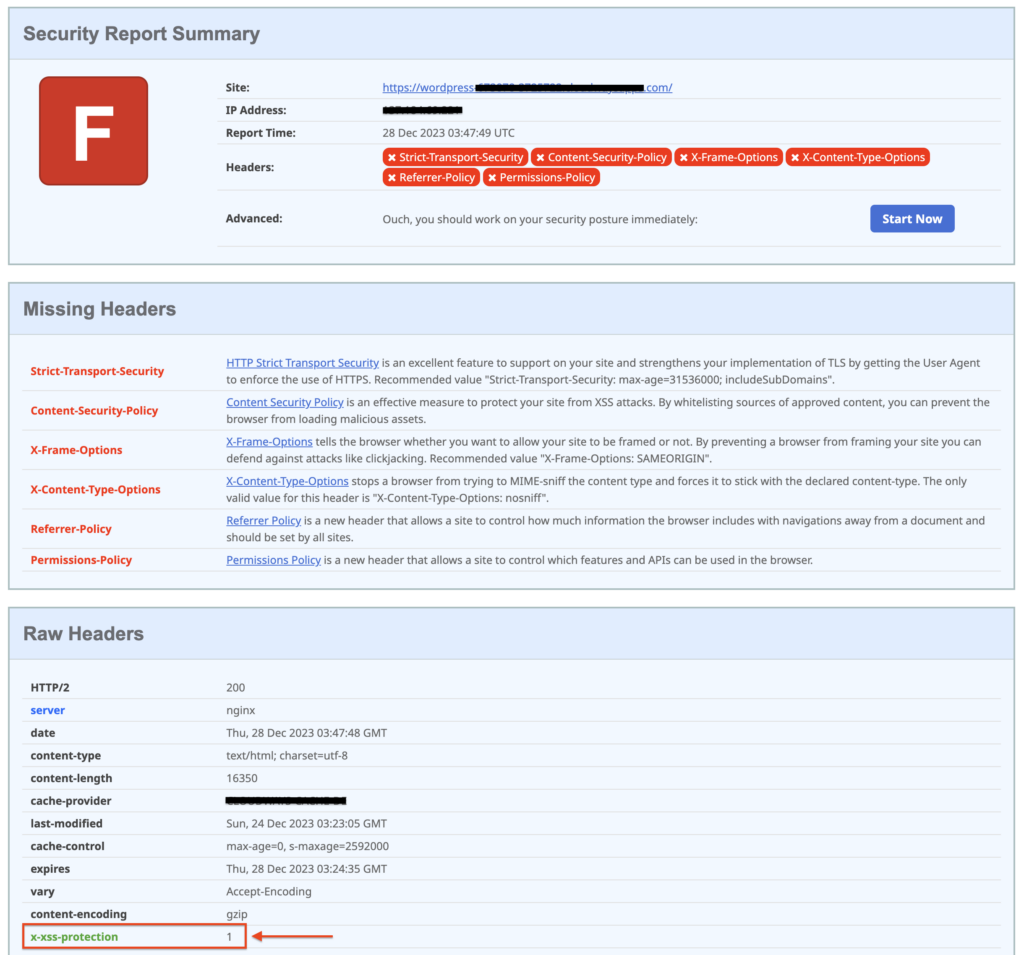
Before you start configuring the X-XSS Protection HTTP header for your WordPress site, it’s smart to check if it’s already set up. This saves you unnecessary work. Use Security Headers, an online tool that scans your website’s security setup. Simply input your site’s URL into their scan tool to see if the X-XSS Protection header is active.
Since the X-XSS Protection header has been deprecated, it won’t appear with the rest of the HTTP headers right on top. Instead, scroll down to the Raw Headers section where you can see x-xss-protection with the set mode value.
Should the X-XSS Protection header not be in place on your site, setting it up is a breeze. You have a choice between using a dedicated plugin like HTTP Headers, which offers an easy-to-use interface, or manually editing the .htaccess file—provided you’re comfortable with editing server files.
1. Configure X-XSS Protection in WordPress using a plugin
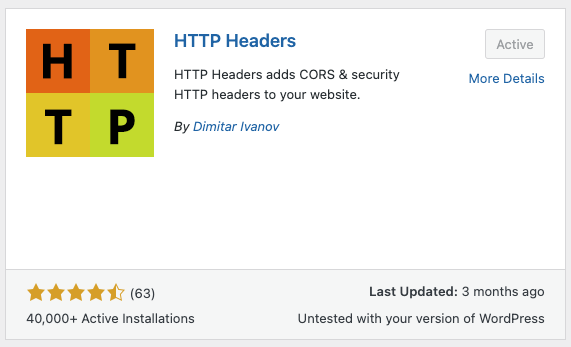
In the WordPress ecosystem, a variety of plugins are available for setting HTTP headers, including the important X-XSS Protection header. However, Dimitar Ivanov’s free HTTP Headers plugin stands out as a solid choice for managing your site’s headers with ease.
To set up the X-XSS Protection header on your WordPress site using the HTTP Headers plugin, follow these steps:
1. Install HTTP Headers: In your WordPress admin area, go to ‘Plugins’ then ‘Add New’. Search for HTTP Headers, install it, and activate it from there.
2. Navigate to HTTP Headers settings: Once activated, move to ‘Settings’ and click on ‘HTTP Headers’. In the ‘Security’ section of the plugin’s dashboard, you’ll find the setting for X-XSS Protection.
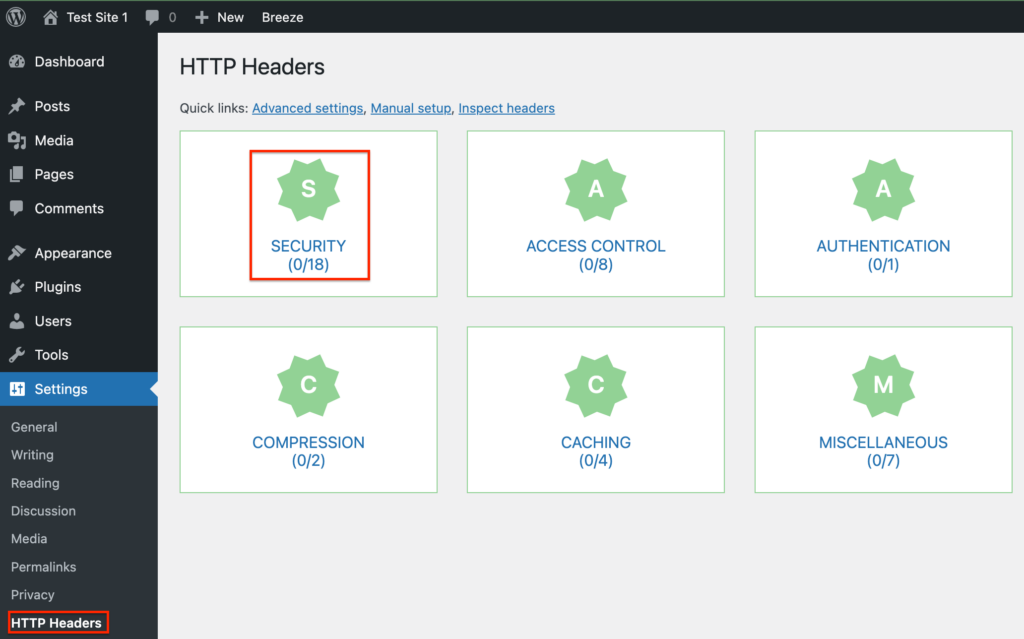
3. Enable the X-XSS Protection header: It’ll be off by default. Click ‘Edit’, choose the ‘On’ checkbox to enable it, select your preferred mode, and then save your changes.

4. Verify site headers: Finally, run another scan on the Security Headers site. If the new settings aren’t showing, clear your cache before rescanning.
2. Configure X-XSS Protection in WordPress by editing the .htaccess file
Configuring the X-XSS Protection header by editing the .htaccess file is a critical step, but caution is key. Prior to making edits, safeguard your website with a comprehensive backup using BlogVault, ensuring you have a recent snapshot stored offsite for quick recovery if anything goes awry.
A. Using FTP
- FTP login: Connect to your server using an FTP client like Filezilla, with credentials obtained from your hosting dashboard or support.

- Locating .htaccess: In Filezilla, navigate to the root directory where the .htaccess file resides, making sure to show hidden files if not visible.
- Editing .htaccess: Right-click .htaccess, select ‘View/Edit’, input the snippet below before the file ends, and save:
<IfModule mod_headers.c>

    Header set X-XSS-Protection "1"

</IfModule>- Uploading .htaccess: After saving, Filezilla will prompt you to update the file on your server; proceed by clicking on ‘Yes’ and confirming.
B. Using cPanel’s File Manager
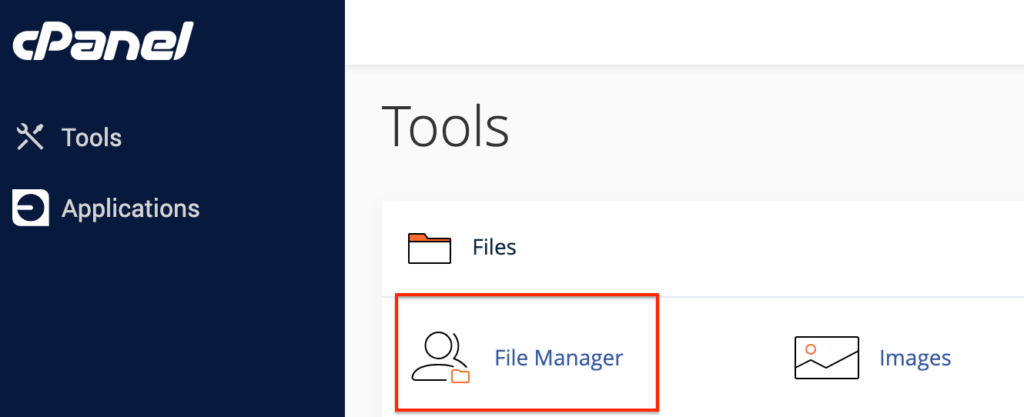
- Access cPanel: Log into your cPanel dashboard with your credentials.
- Finding .htaccess: In ‘File Manager’, locate .htaccess in the root.
- Editing: Right-click the file, hit ‘Edit’, then add the same snippet.
- Saving changes: Click ‘Save Changes’ after you’re done with the edits.
C. Using SSH
- SSH login: Open your Command Prompt (Windows) or Terminal (Mac) to initiate an SSH connection using `ssh username@ipaddress`, replacing details with your hosting information.

- Navigating to root directory: Change to the root directory (`cd <root>`) and list files (`ls -a`) to find .htaccess.


- Editing .htaccess: Open the file with `vi .htaccess`, press ‘i’ to insert, add the snippet, then press ‘Esc’.
- Saving your configurations: Save and exit with `:wq` to apply the changes.
Note: For those on an nginx server, edit the nginx.conf file and insert the following code:
`add_header X-Xss-Protection "1" always;`Potential issues and how to troubleshoot them
Configuring the X-XSS Protection header in WordPress is usually straightforward, but occasionally, you might encounter issues. Here are some common problems and tips on how to resolve them:
Header not taking effect
Clear cache: If you’ve added the header but it doesn’t appear to be active, clear your site’s cache through a caching plugin or your hosting service’s dashboard. Caching might serve an old version of the .htaccess file.
Browser cache: Additionally, clear your browser cache or use an incognito window to check if the header is applied.
Correct syntax: Verify that the code snippet has been added correctly and is not missing any characters
Server-Side restrictions
Some hosts may restrict access to certain .htaccess configurations for security reasons. If the header changes aren’t applied, reach out to your hosting provider’s support team for assistance.
Conflicting plugins
Security plugins or those managing headers might conflict with manual .htaccess edits. Deactivate plugins one by one to identify any conflicts and configure them to accommodate the X-XSS-Protection header settings.
Incorrect file permissions
.htaccess file permissions should be set to 644. Incorrect permissions may prevent edits from being accepted. Adjust the file permissions via FTP or the hosting control panel and attempt to edit again.
Incorrect .htaccess location
The .htaccess file must be located in the root directory of your WordPress installation, generally ‘public_html’. If placed elsewhere, it won’t govern the necessary configurations.
Impact on site behavior
Sometimes, adding new headers can cause unexpected behavior in your site. Monitor your site’s functionality after implementation and rollback changes if you notice any issues.
Importance of HTTP Headers in WordPress
The importance of HTTP headers in WordPress cannot be understated. They are integral components that contribute significantly to reinforcing your website’s defenses and boosting its operational efficiency. These headers serve as more than mere lines of code; they are the architects of a secure and swift browsing experience.
HTTP Headers are not enough for WordPress site security
While understanding HTTP headers is an important step in securing your WordPress site, they are but one piece of the security puzzle. For a fortified defense system, you’ll need to employ a more holistic approach.
Final Thoughts
As we conclude our guide to the X-XSS Protection header in WordPress, it’s vital to remember that despite its once-central role in web security, it has been deprecated in favor of more modern and comprehensive solutions like the Content-Security-Policy (CSP) header. However, understanding the X-XSS Protection header and its legacy continues to be beneficial, particularly for ensuring backward compatibility and a baseline of security for users on older browsers.
Yet, leaning solely on this measure for safeguarding your WordPress platform is akin to securing a fortress with a single guard at the gate while newer threats loom over the horizon. This makes a specialized tool like MalCare indispensable. MalCare’s robust firewall, thorough malware scanning, and automated cleaning capabilities provide a proactive umbrella of security that keeps your WordPress site secure, not just for yourselves but also for your entire online community.
FAQs
Is the X-XSS Protection header obsolete?
Yes. It only exists to protect older browsers that don’t support Content-Security-Policy (CSP). In modern browsers, it has been replaced by the Reflected-XSS directive in the CSP header.
Why is the X-XSS Protection header still important if it’s deprecated?
While deprecated, the X-XSS Protection header can still provide an extra layer of protection for users who are utilizing older browsers that do not support newer security standards such as CSP.
What is the best protection against XSS?
MalCare is the best protection against WordPress XSS attacks. It provides a comprehensive solution that includes real-time firewall protection, automated malware scanning, and instant clean-up capabilities, along with security hardening features. It significantly improves your cybersecurity posture, keeps your site secure, and offers a higher level of protection than what can be achieved with the X-XSS Protection header alone.
Can a firewall prevent XSS attacks?
Yes. To prevent XSS attacks, you must use WordPress-specific firewalls, like MalCare’s Atomic Security, or web application firewalls (WAFs), like Cloudflare.
What are the risks of XSS attacks?
WordPress websites that have fallen victim to XSS attacks run the risk of everything from displaying inappropriate content to malware distribution on visitors’ systems to a complete takeover of the site. Hence, protecting your site against XSS attacks is critical.
Is XSS worse than CSRF?
XSS attacks typically cause much more damage to your site than cross-site request forgery (CSRF) attacks, which attack site visitors. In fact, a lot of XSS attacks are used to perpetuate CSRF ones in a chain of exploits. However, this does not mean you should take CSRF attacks lightly. You must ensure your WordPress site’s protection against both XSS and CSRF attacks by giving it the cover of MalCare.
Category:
Share it:
You may also like

How to set, get, and delete cookies in WordPress
Cookies are small pieces of data that make your web experience smoother and more personalized. Websites rely on these cookies for essential functions like remembering your login details for future…

Top 9 iControlWP Alternatives: Manage Multiple Sites Easily
Of all the top WordPress management plugins we tested, iControlWP was definitely at the bottom of the list. It was difficult to set up and took over an hour to…
MalCare Proactively Blocks Attacks on LayerSlider SQL Injection Vulnerability
In our recent data, we have seen a number of attacks trying to exploit a SQL injection vulnerability, recently discovered in the LayerSlider plugin. This vulnerability is a critical one,…
How can we help you?
If you’re worried that your website has been hacked, MalCare can help you quickly fix the issue and secure your site to prevent future hacks.

My site is hacked – Help me clean it
Clean your site with MalCare’s AntiVirus solution within minutes. It will remove all malware from your complete site. Guaranteed.

Secure my WordPress Site from hackers
MalCare’s 7-Layer Security Offers Complete Protection for Your Website. 300,000+ Websites Trust MalCare for Total Defence from Attacks.


